PLAN
For shoot 3, I want to go back to the Pegwell Bay location, where I went for shoot 1. Shoot 1 definitely has some final images, but I wanted to go again to see what else I can capture. However doing this by starting at another end of the reserve, I will mention more below. I will also focus more on what I learnt from my research. But I have to take lighting and weather into consideration. If I want to use final images from the two different shoots, I would want them to match up as well as possible. So I would have to go on a day with little or no cloud cover, and in the afternoon, when the sun is starting to go down (2/3pm).
LOCATION
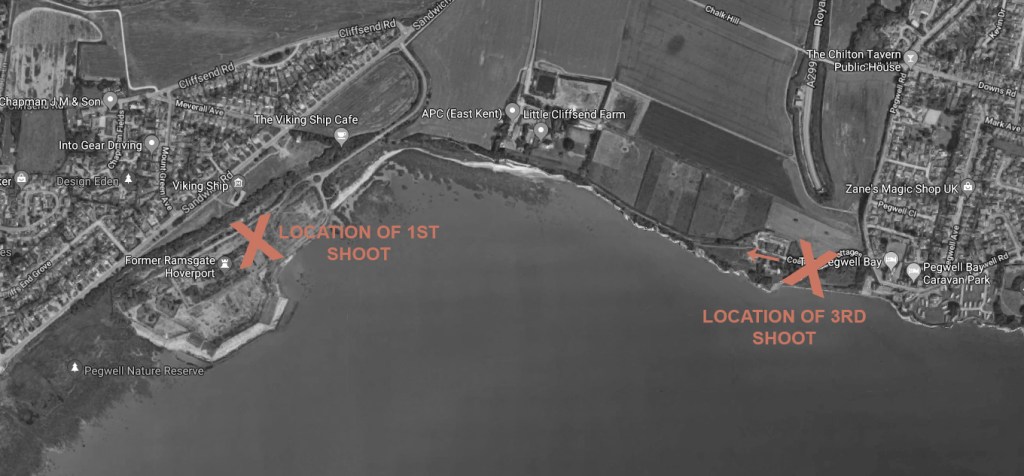
Below I have created a map of the Pegwell Bay Reserve location. The ‘x’ on the left shows where I took shoot 1 images, and the ‘x’ on the right shows where I’m planning on going. Also, the direction I’m going in from the arrow. I feel that going from the opposite side will bring a new perspective and area to photograph from.
EQUIPMENT
As I want the shoot to be in the same style as shoot 1, I’m bringing Canon camera with a standard lens and also the 70 – 300mm as well.
CONTACT SHEET
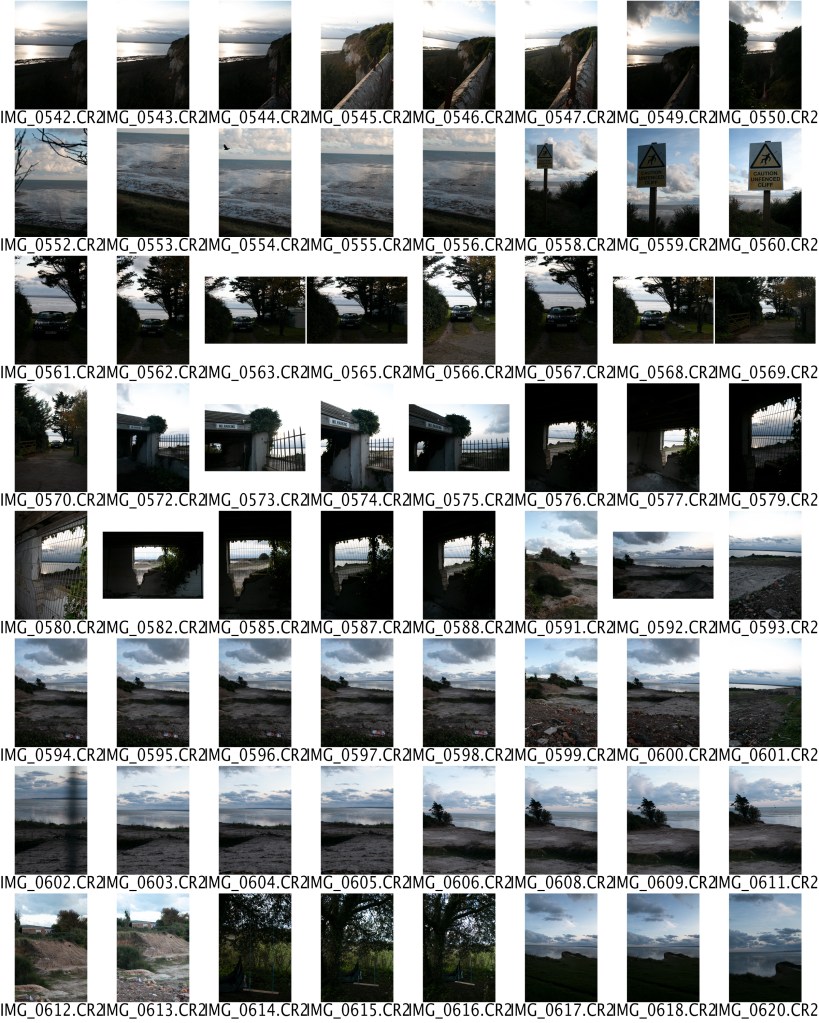
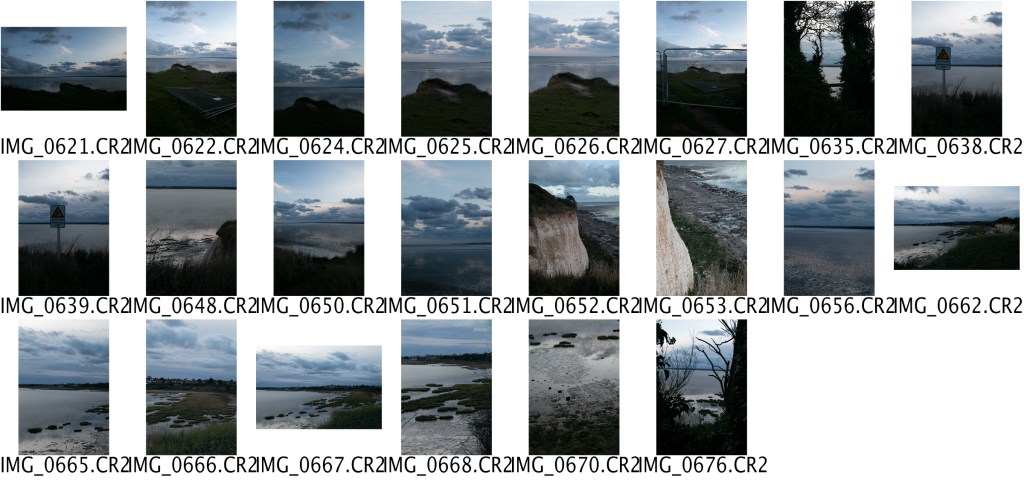
I EDITED THEM THE SAME WAY AS THE OTHER SHOOT, SO THEY BLEND TOGETHER
RESULTS
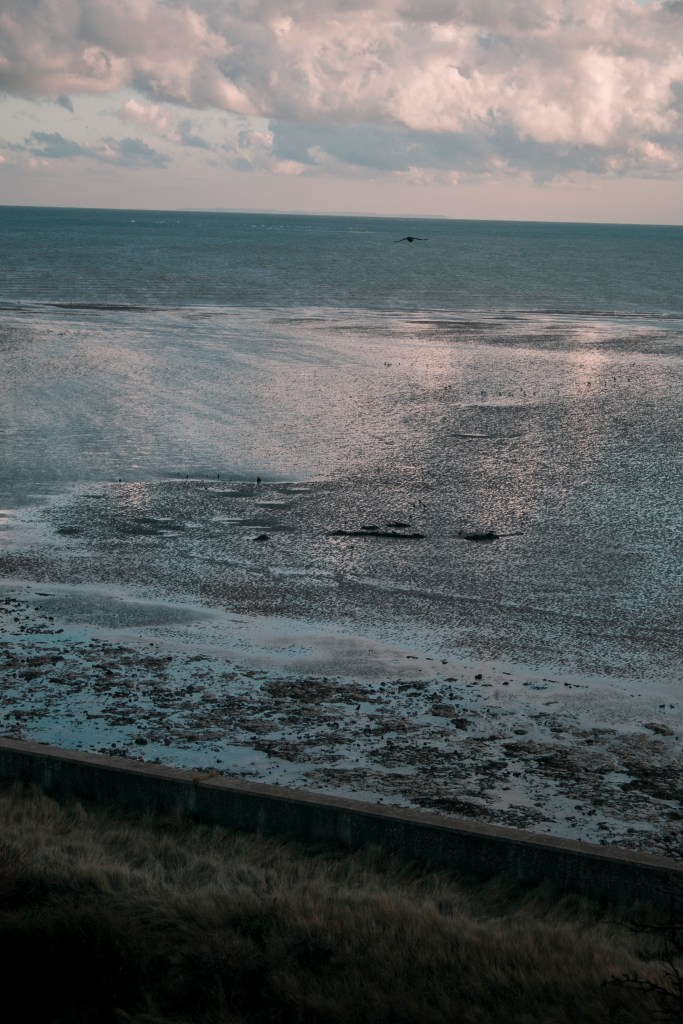
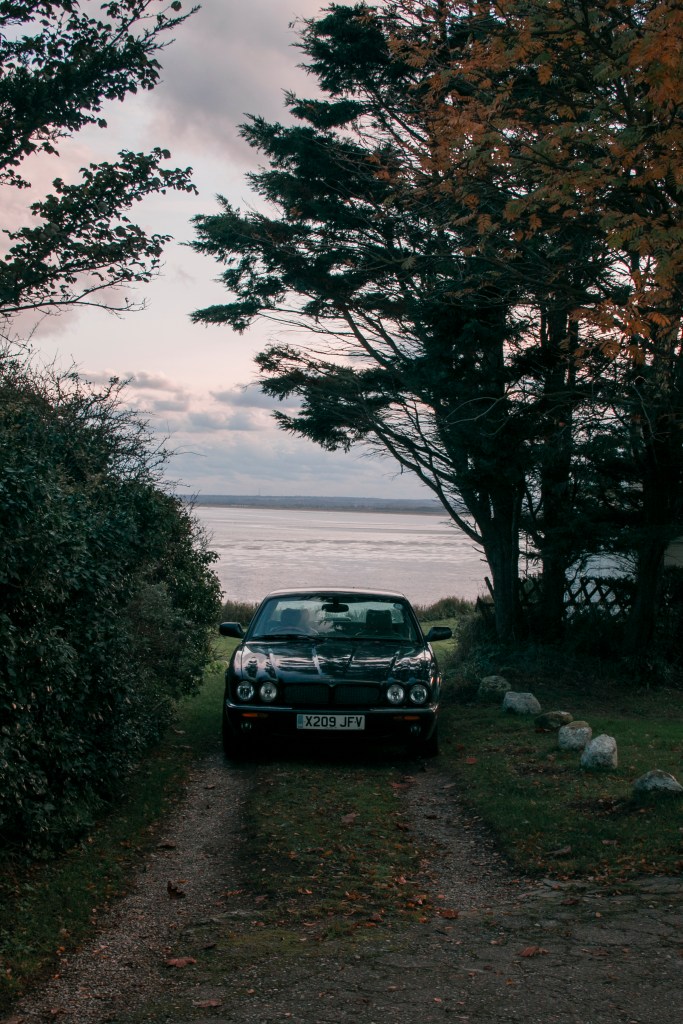
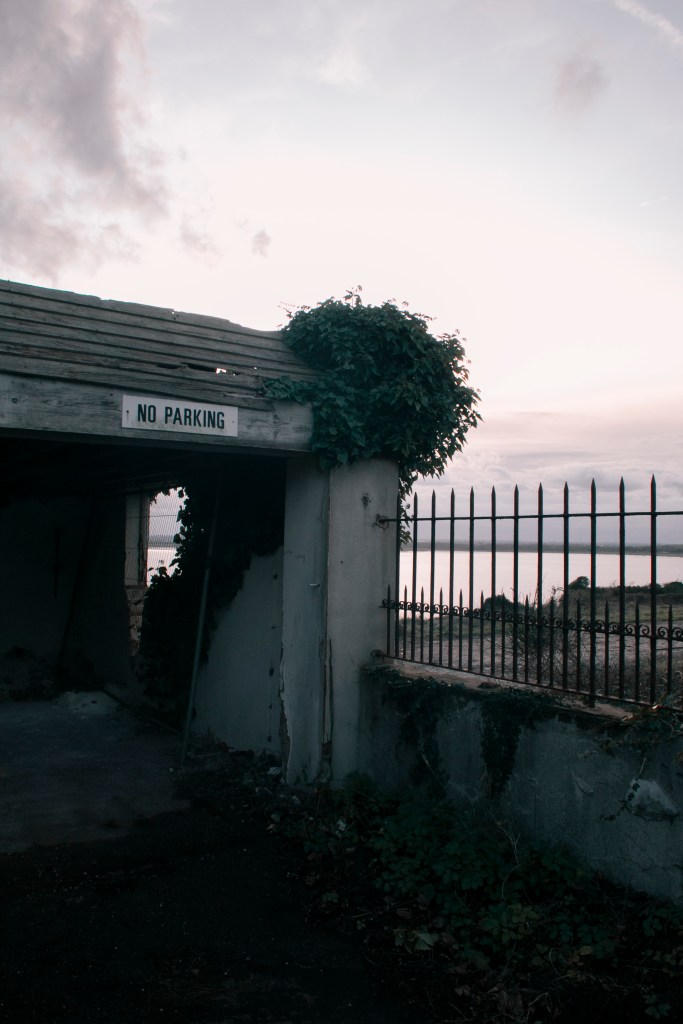
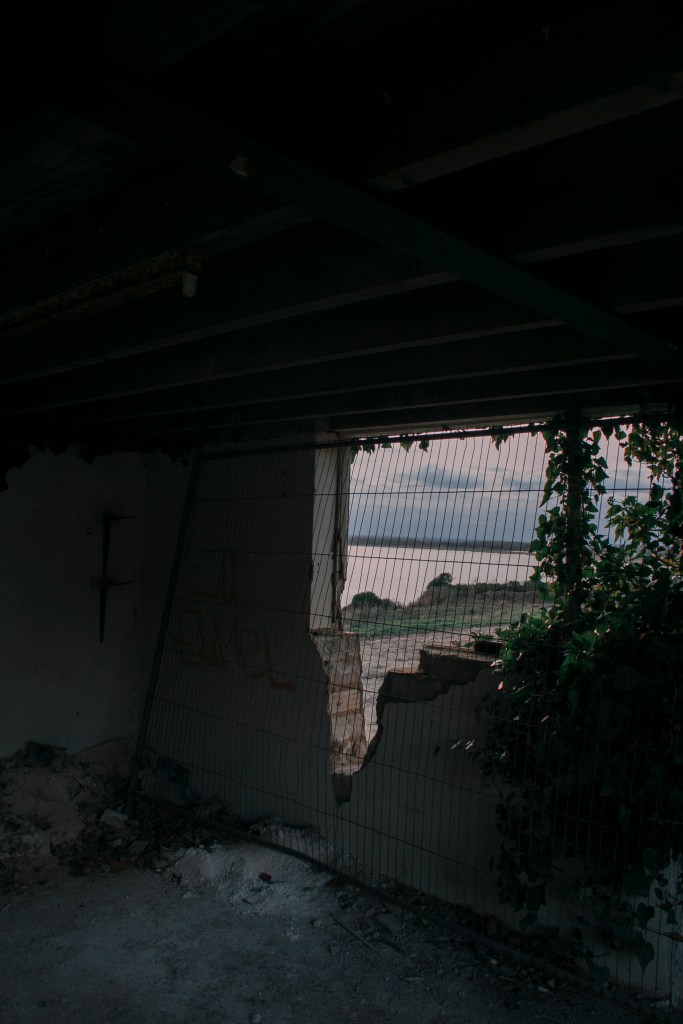
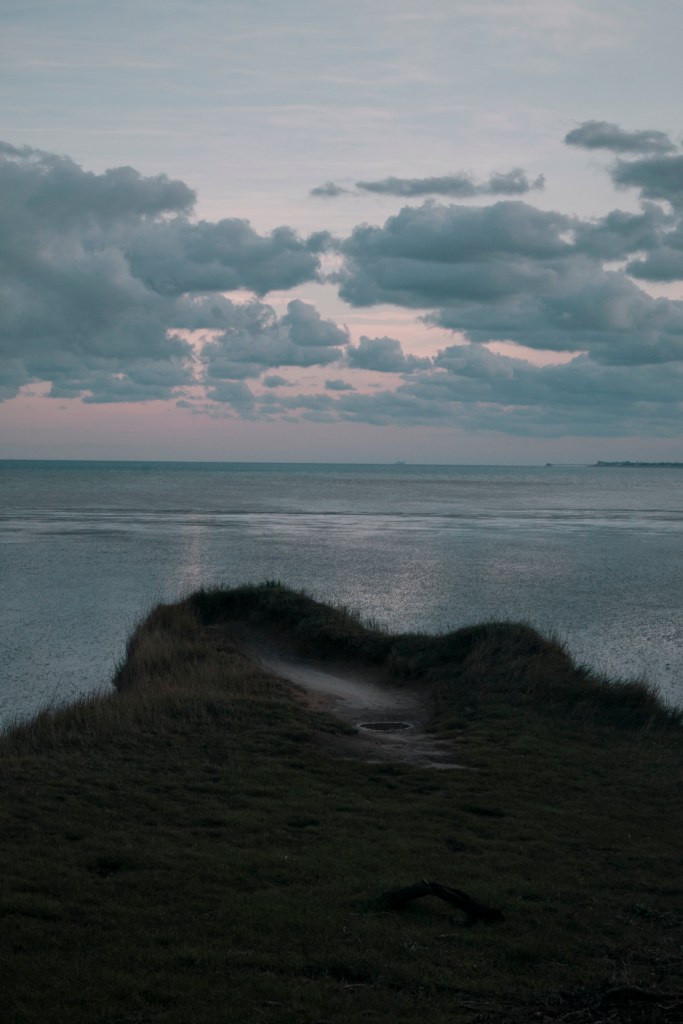

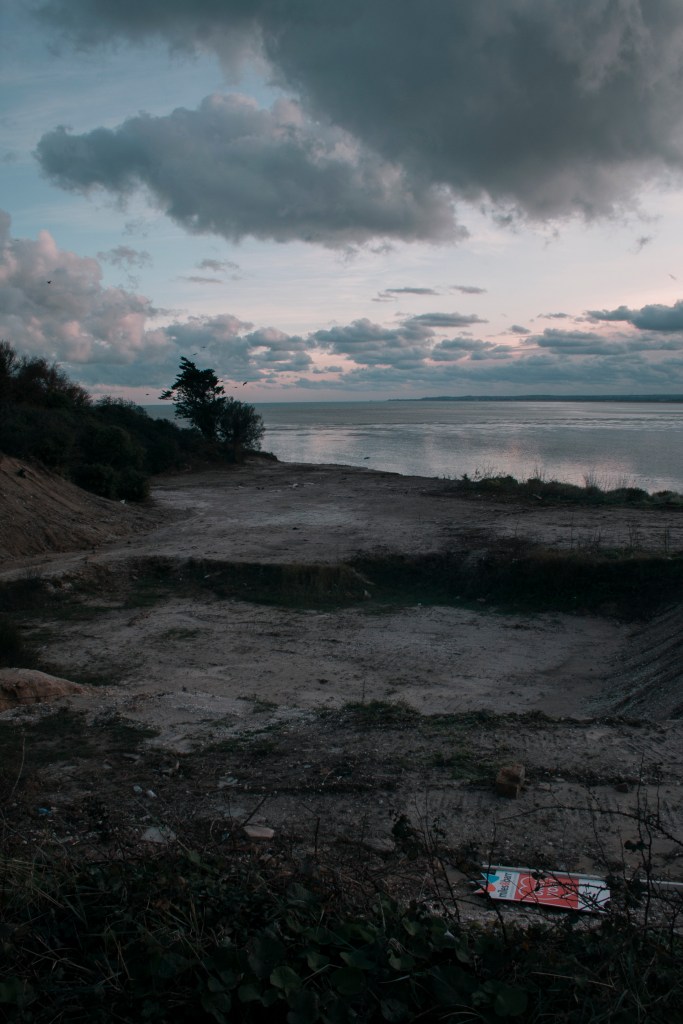
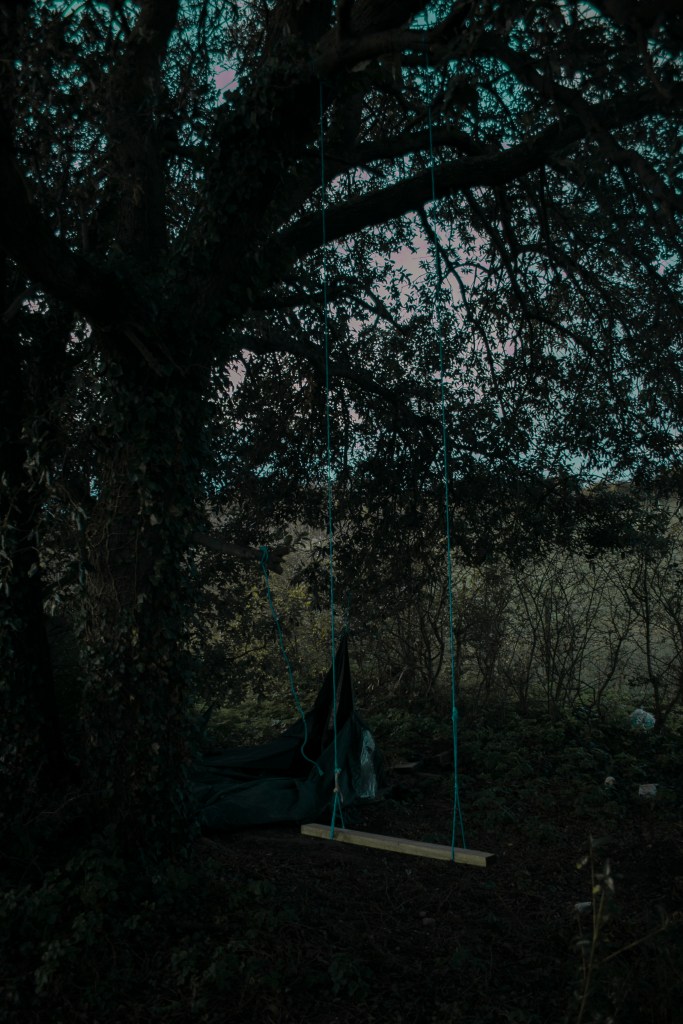
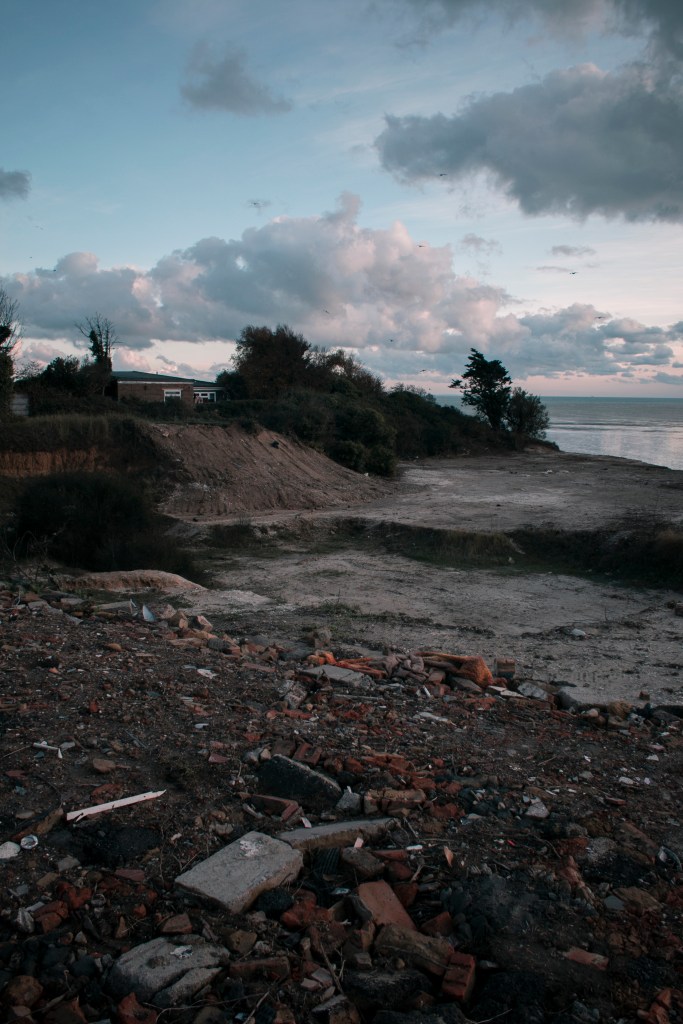
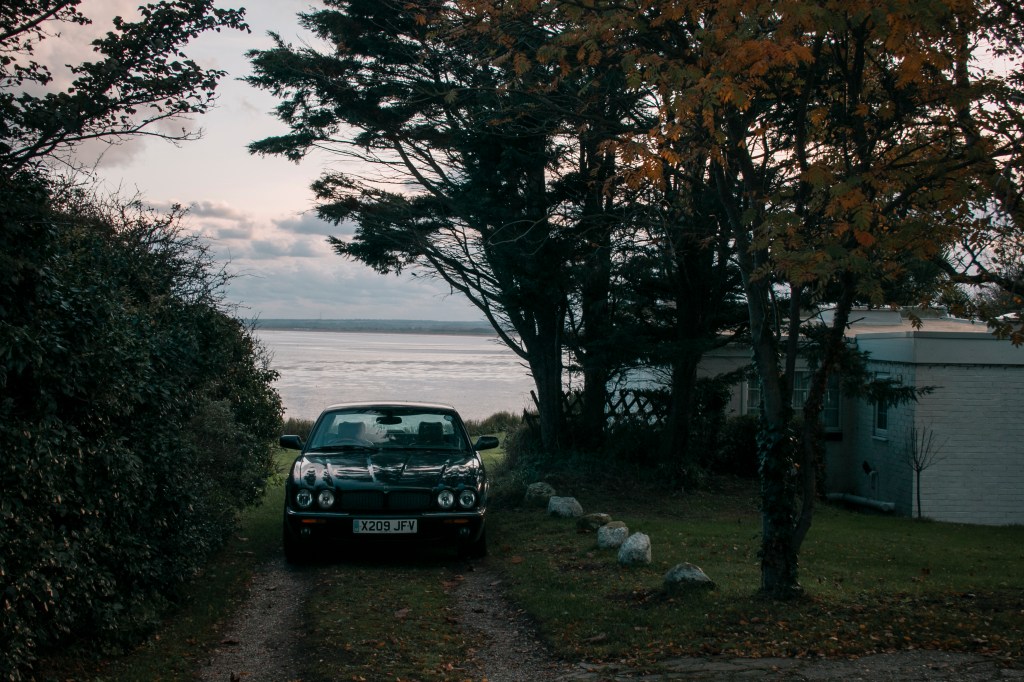
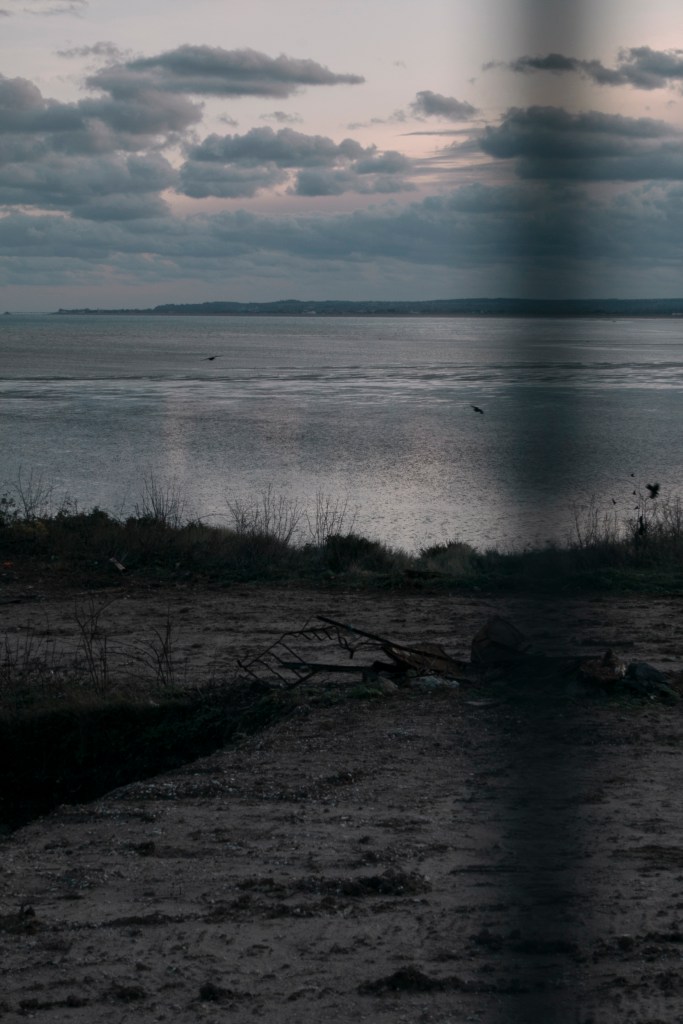
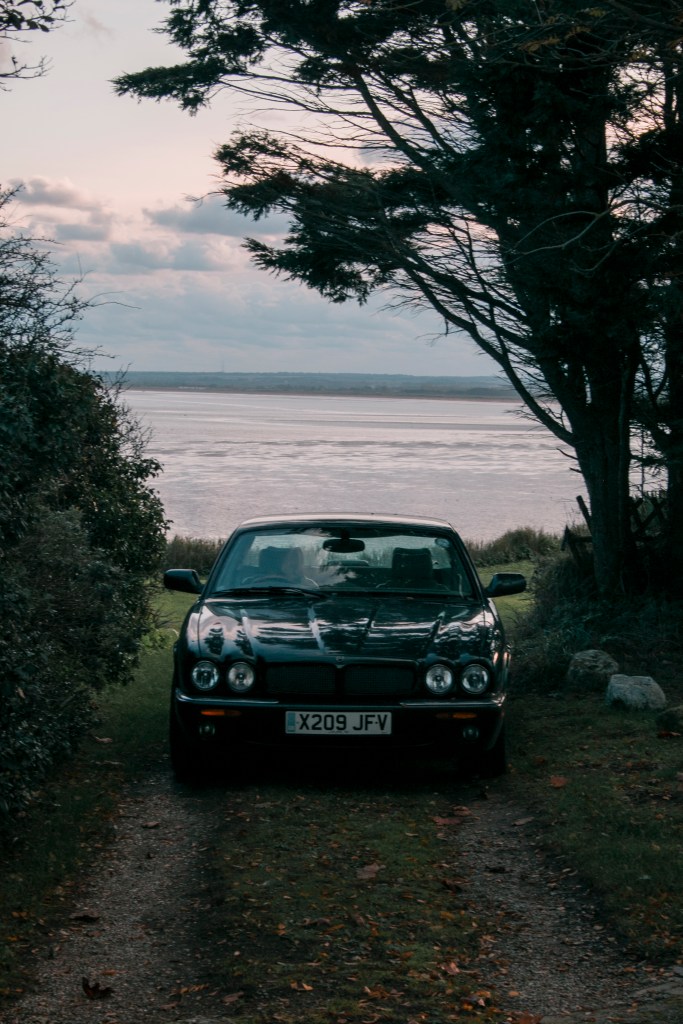
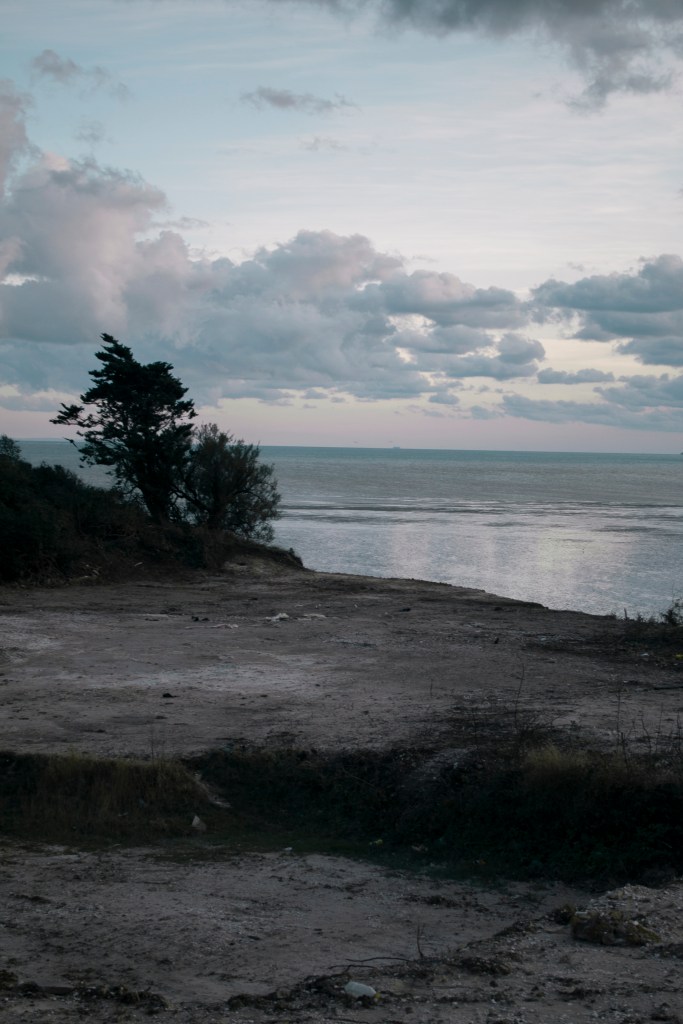
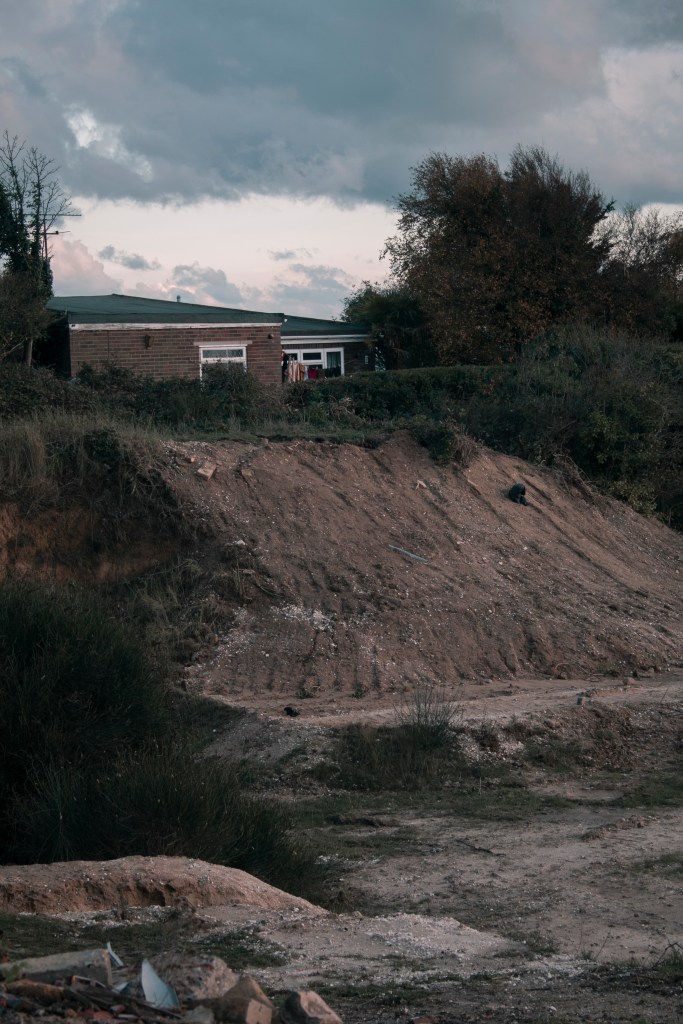
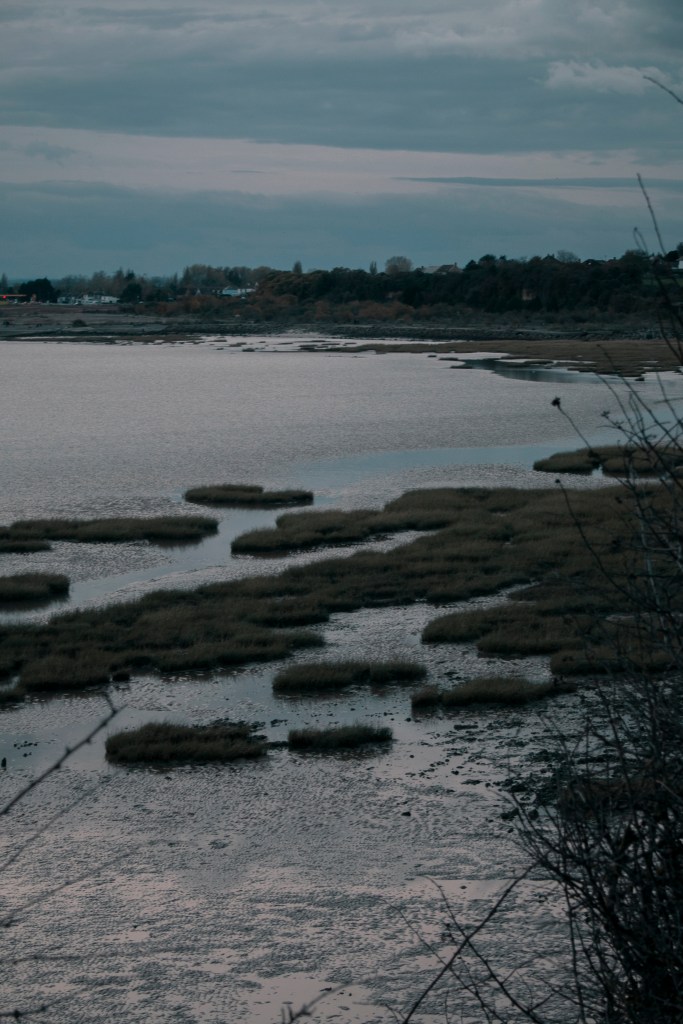
When I got to the location, there were more clouds than I expected, but it still works, because of the scenery. I haven’t been to this side of the reserve in a few months, and I was surprised that some of the areas were bordered off with fencing and some spaces where having development done to it. Which in comparison to shoot 1, these set of images look different. But I’m glad it was different because it made the photos not look like your typical landscape photography. I think this area help, it adds texture, shapes and life/lifeless.
