CHOOSING MY FINAL IMAGES

IDENTITY, TEST SHOOTS

In this project, I have to produce 4-6 images surrounding the idea of identity, and now I have to choose my final images for printing. I want the images to flow through the sequence, but I’m going to narrow down the best images between the two shoots.

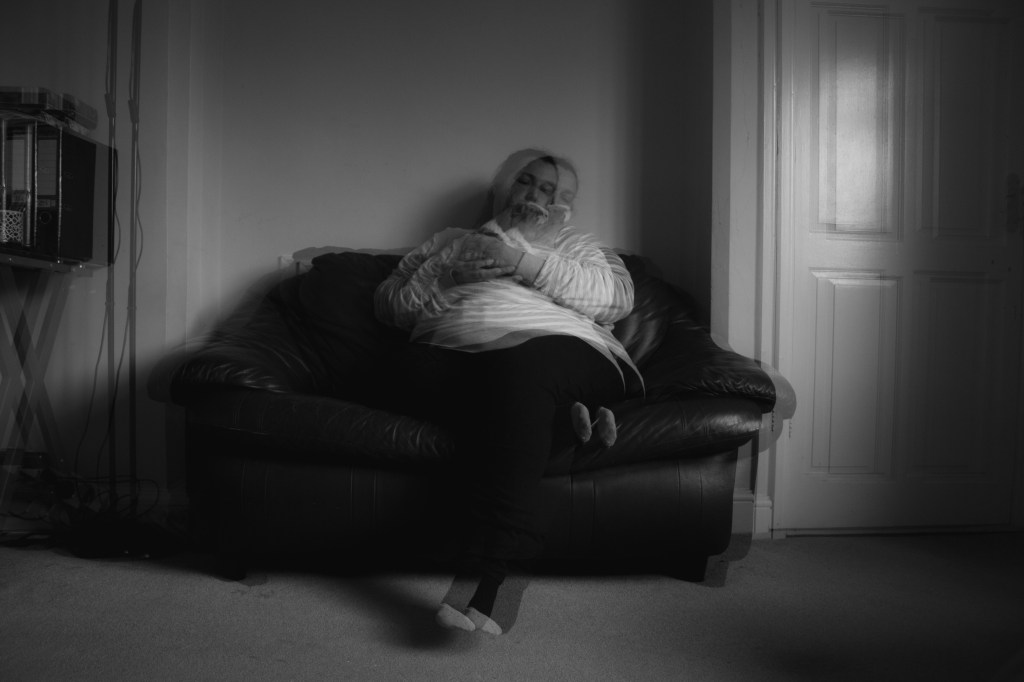
I wanted to photograph my dad for the final two images, but because of time restriction, I decided not to focus on getting my printing done. I am getting feedback from fellow peers and friends to see which ones they are visually taken too.

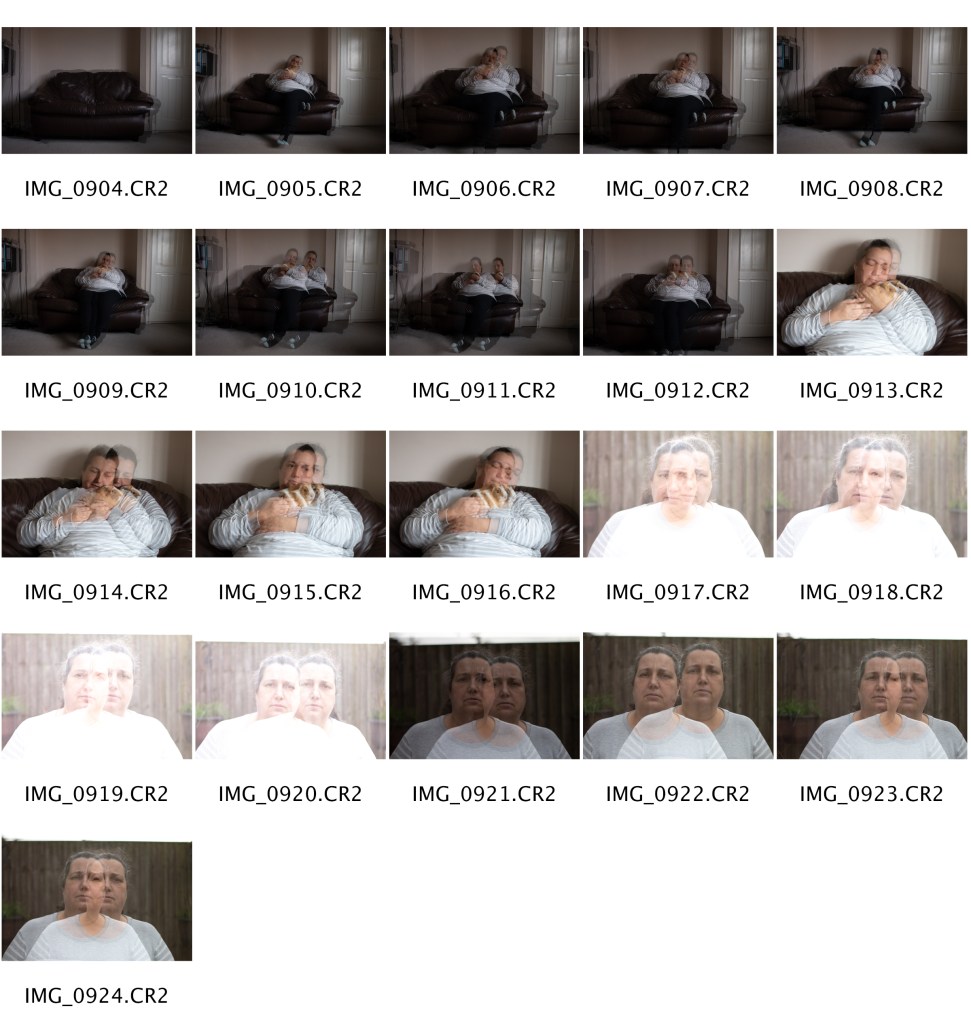
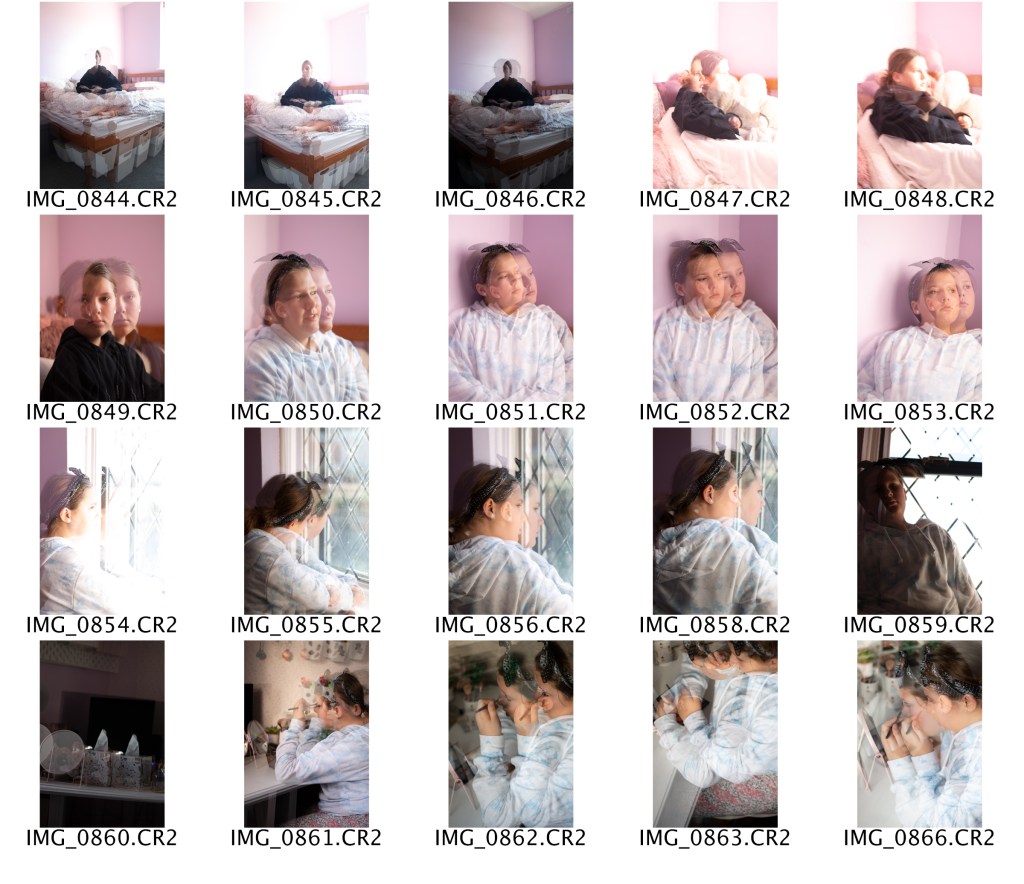
THE SELECTION TO CHOOSE FROM

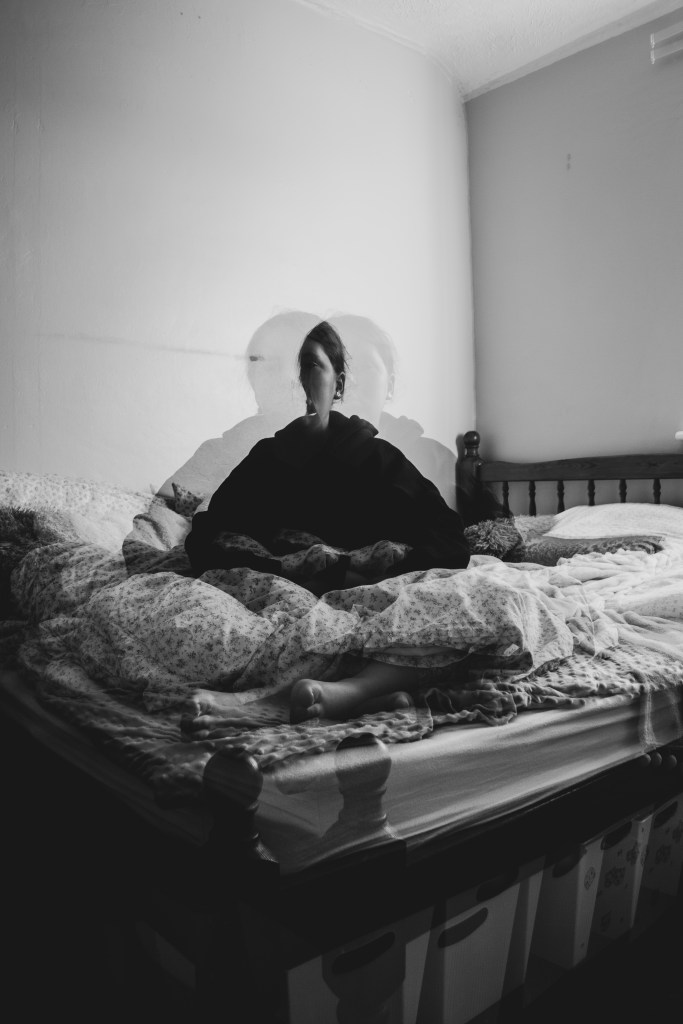
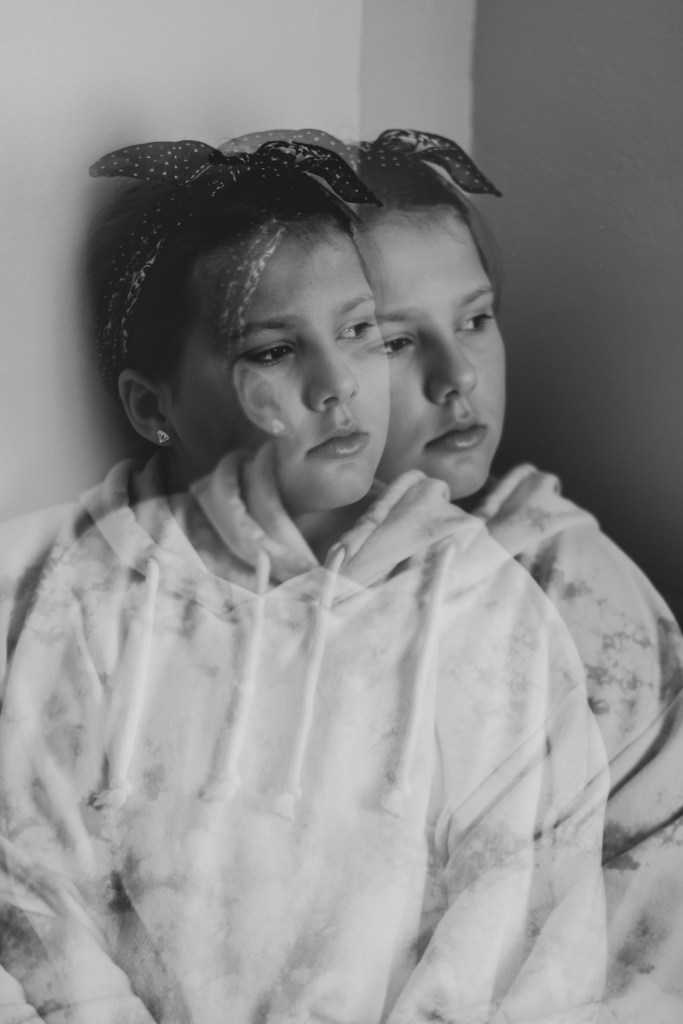
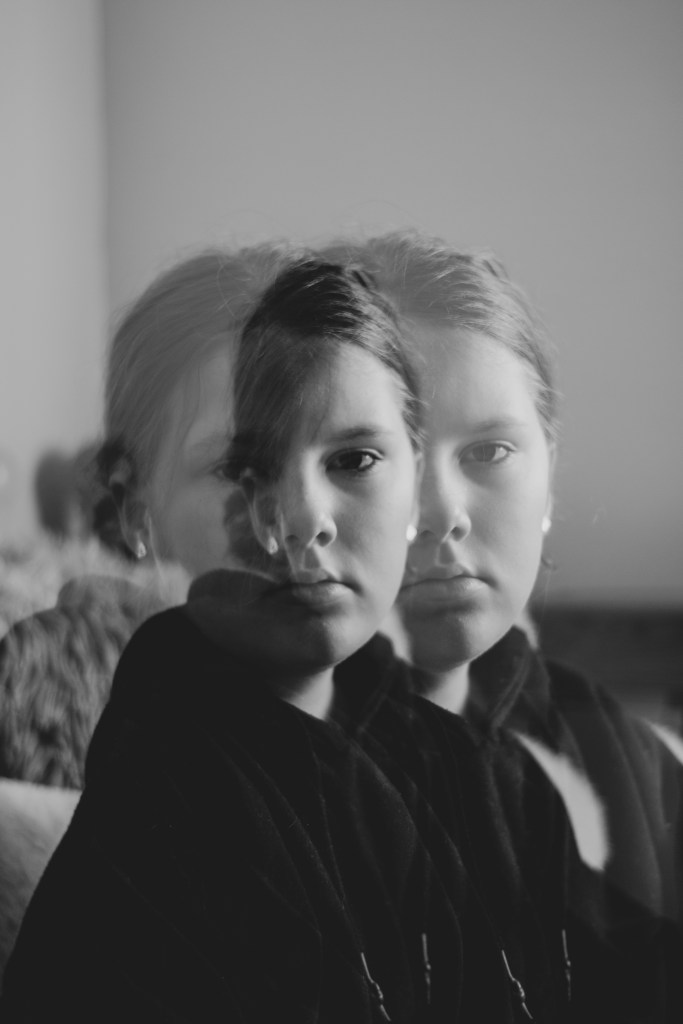
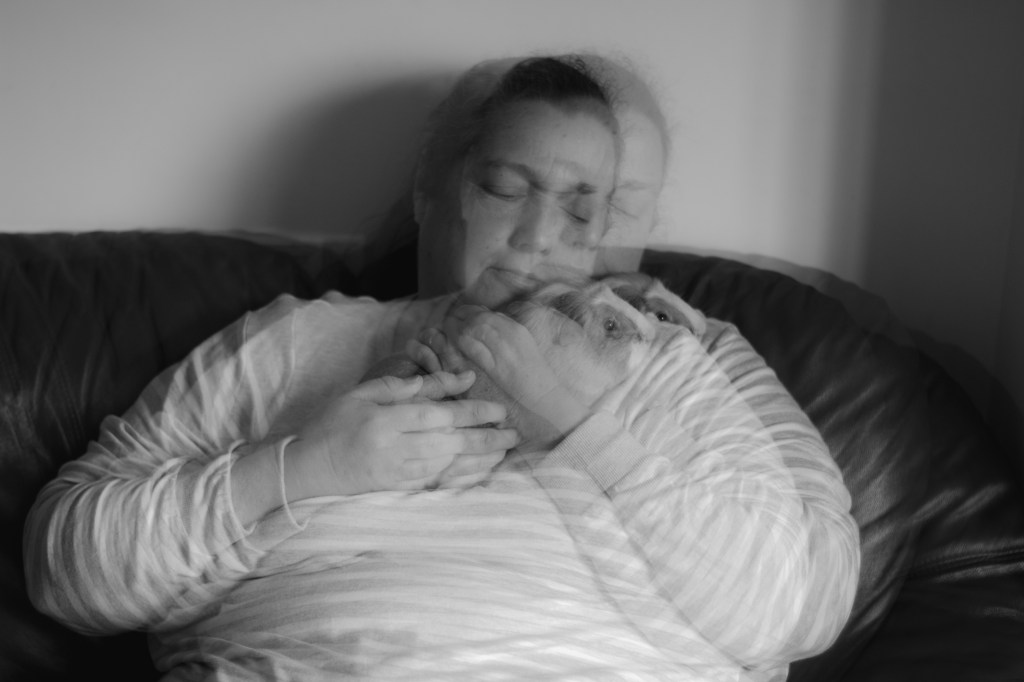
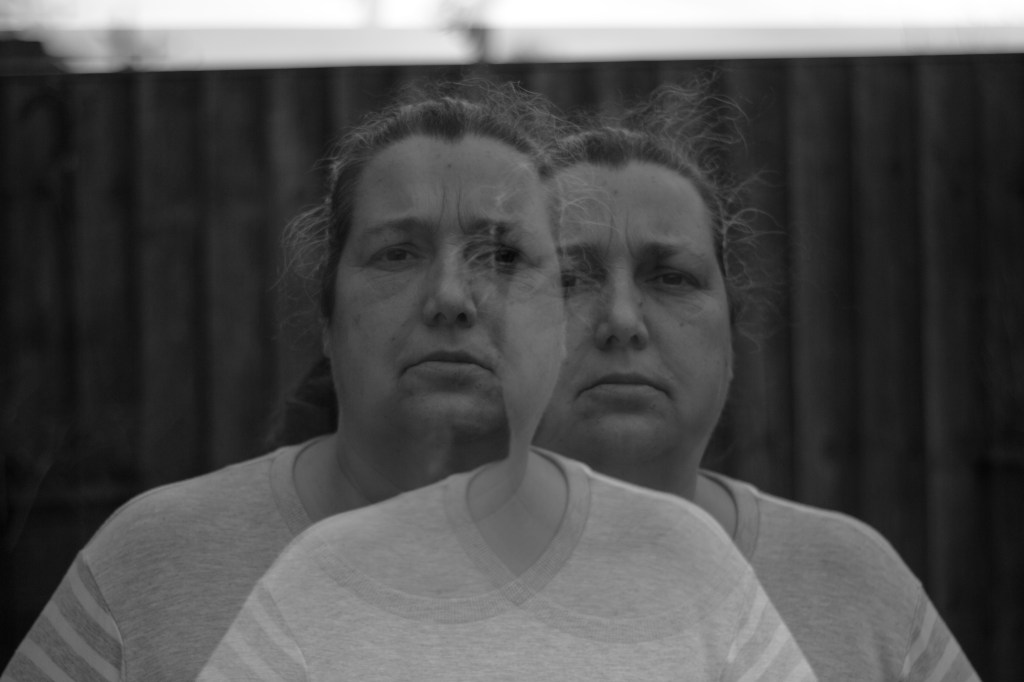
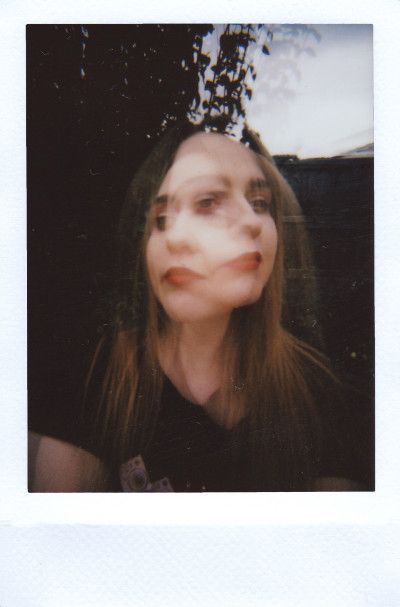
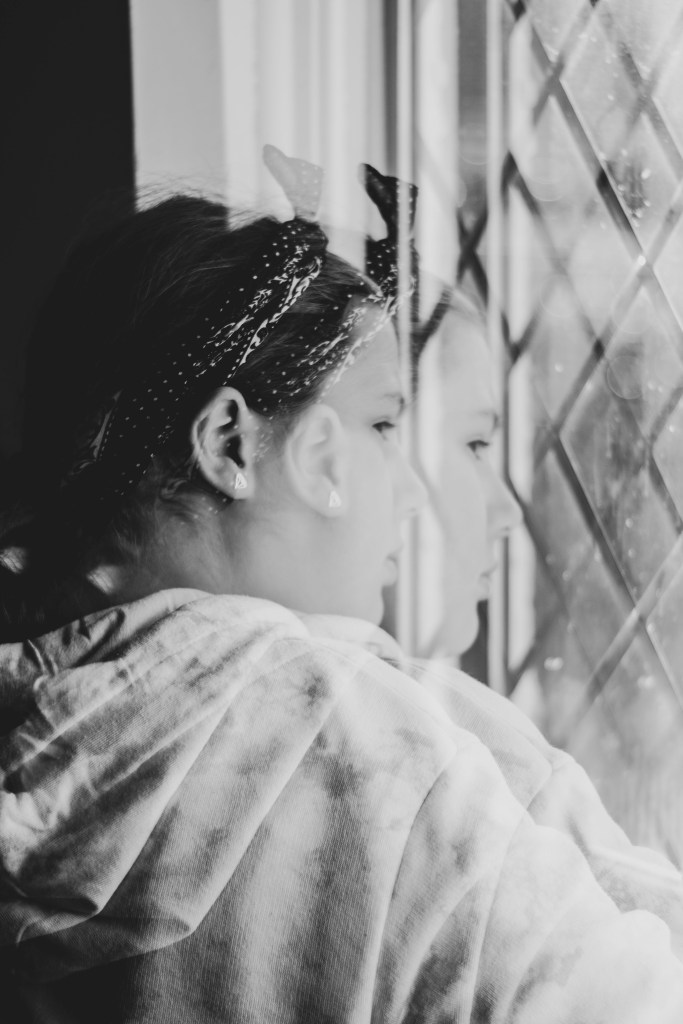
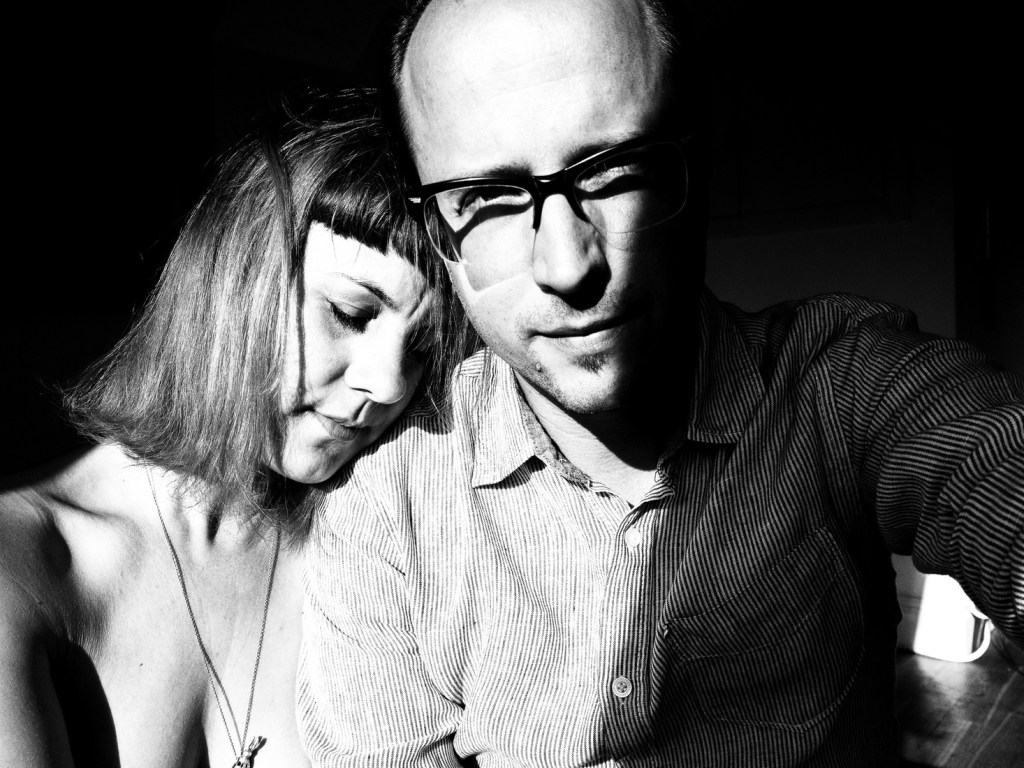
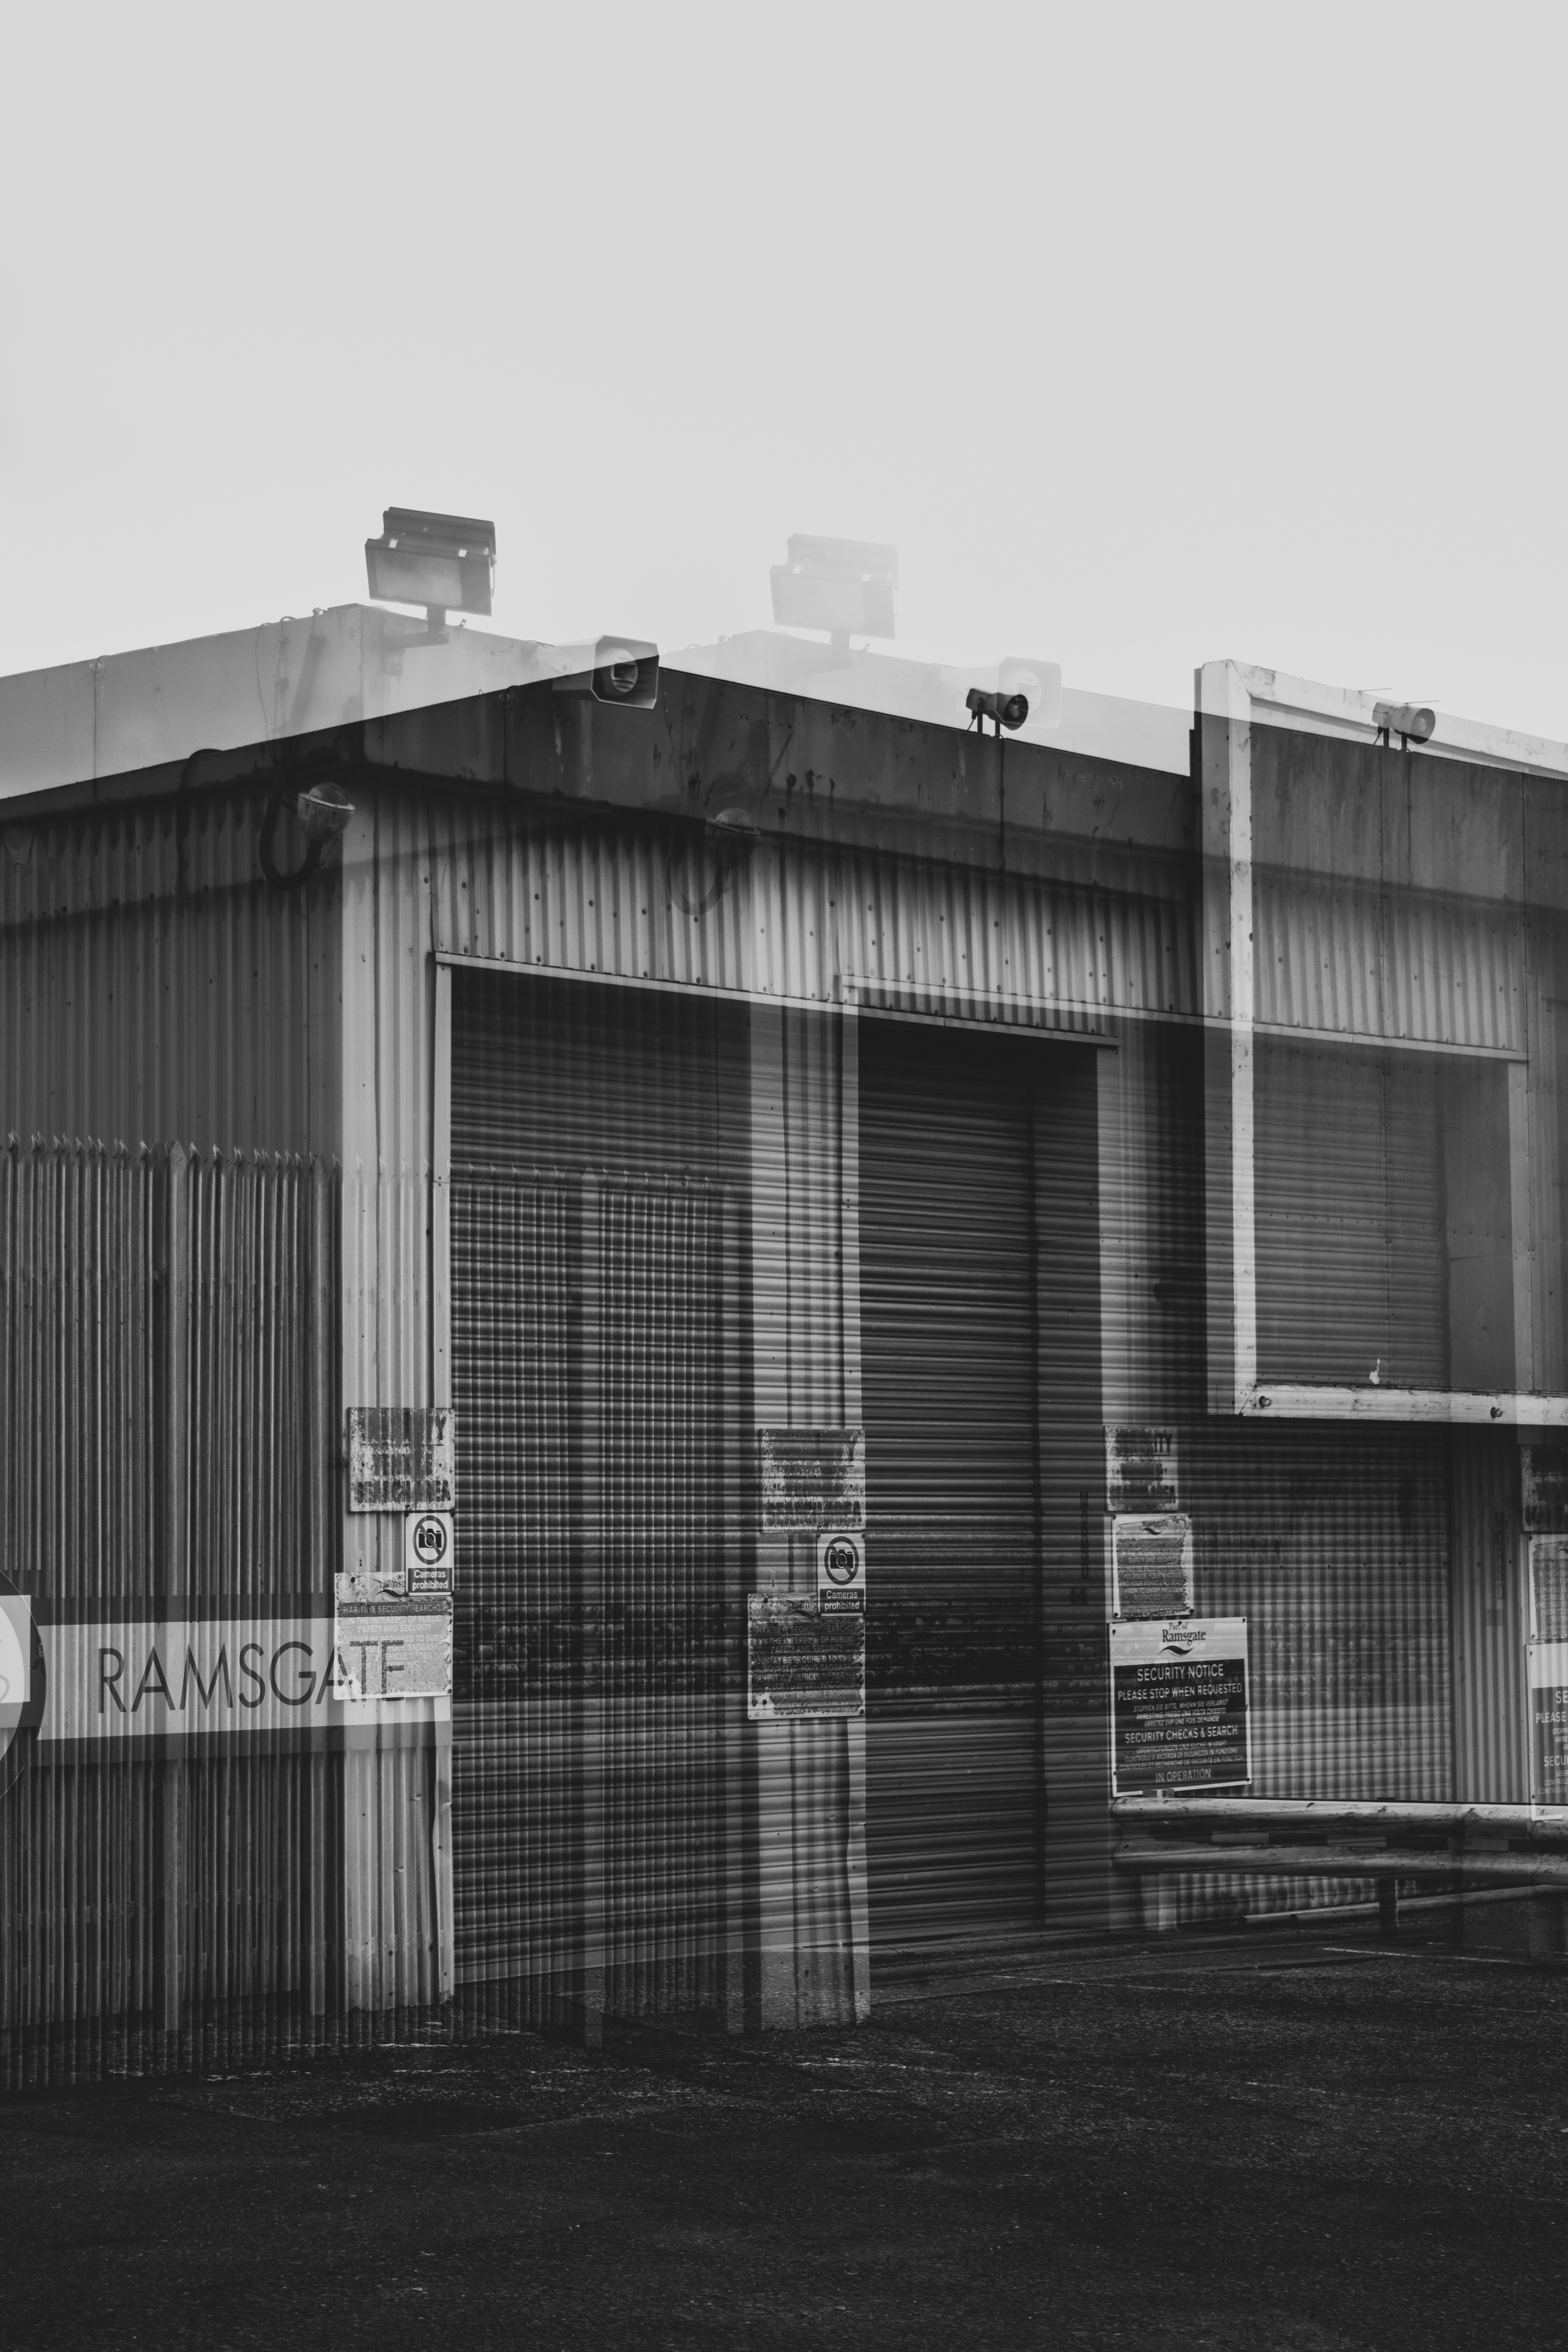
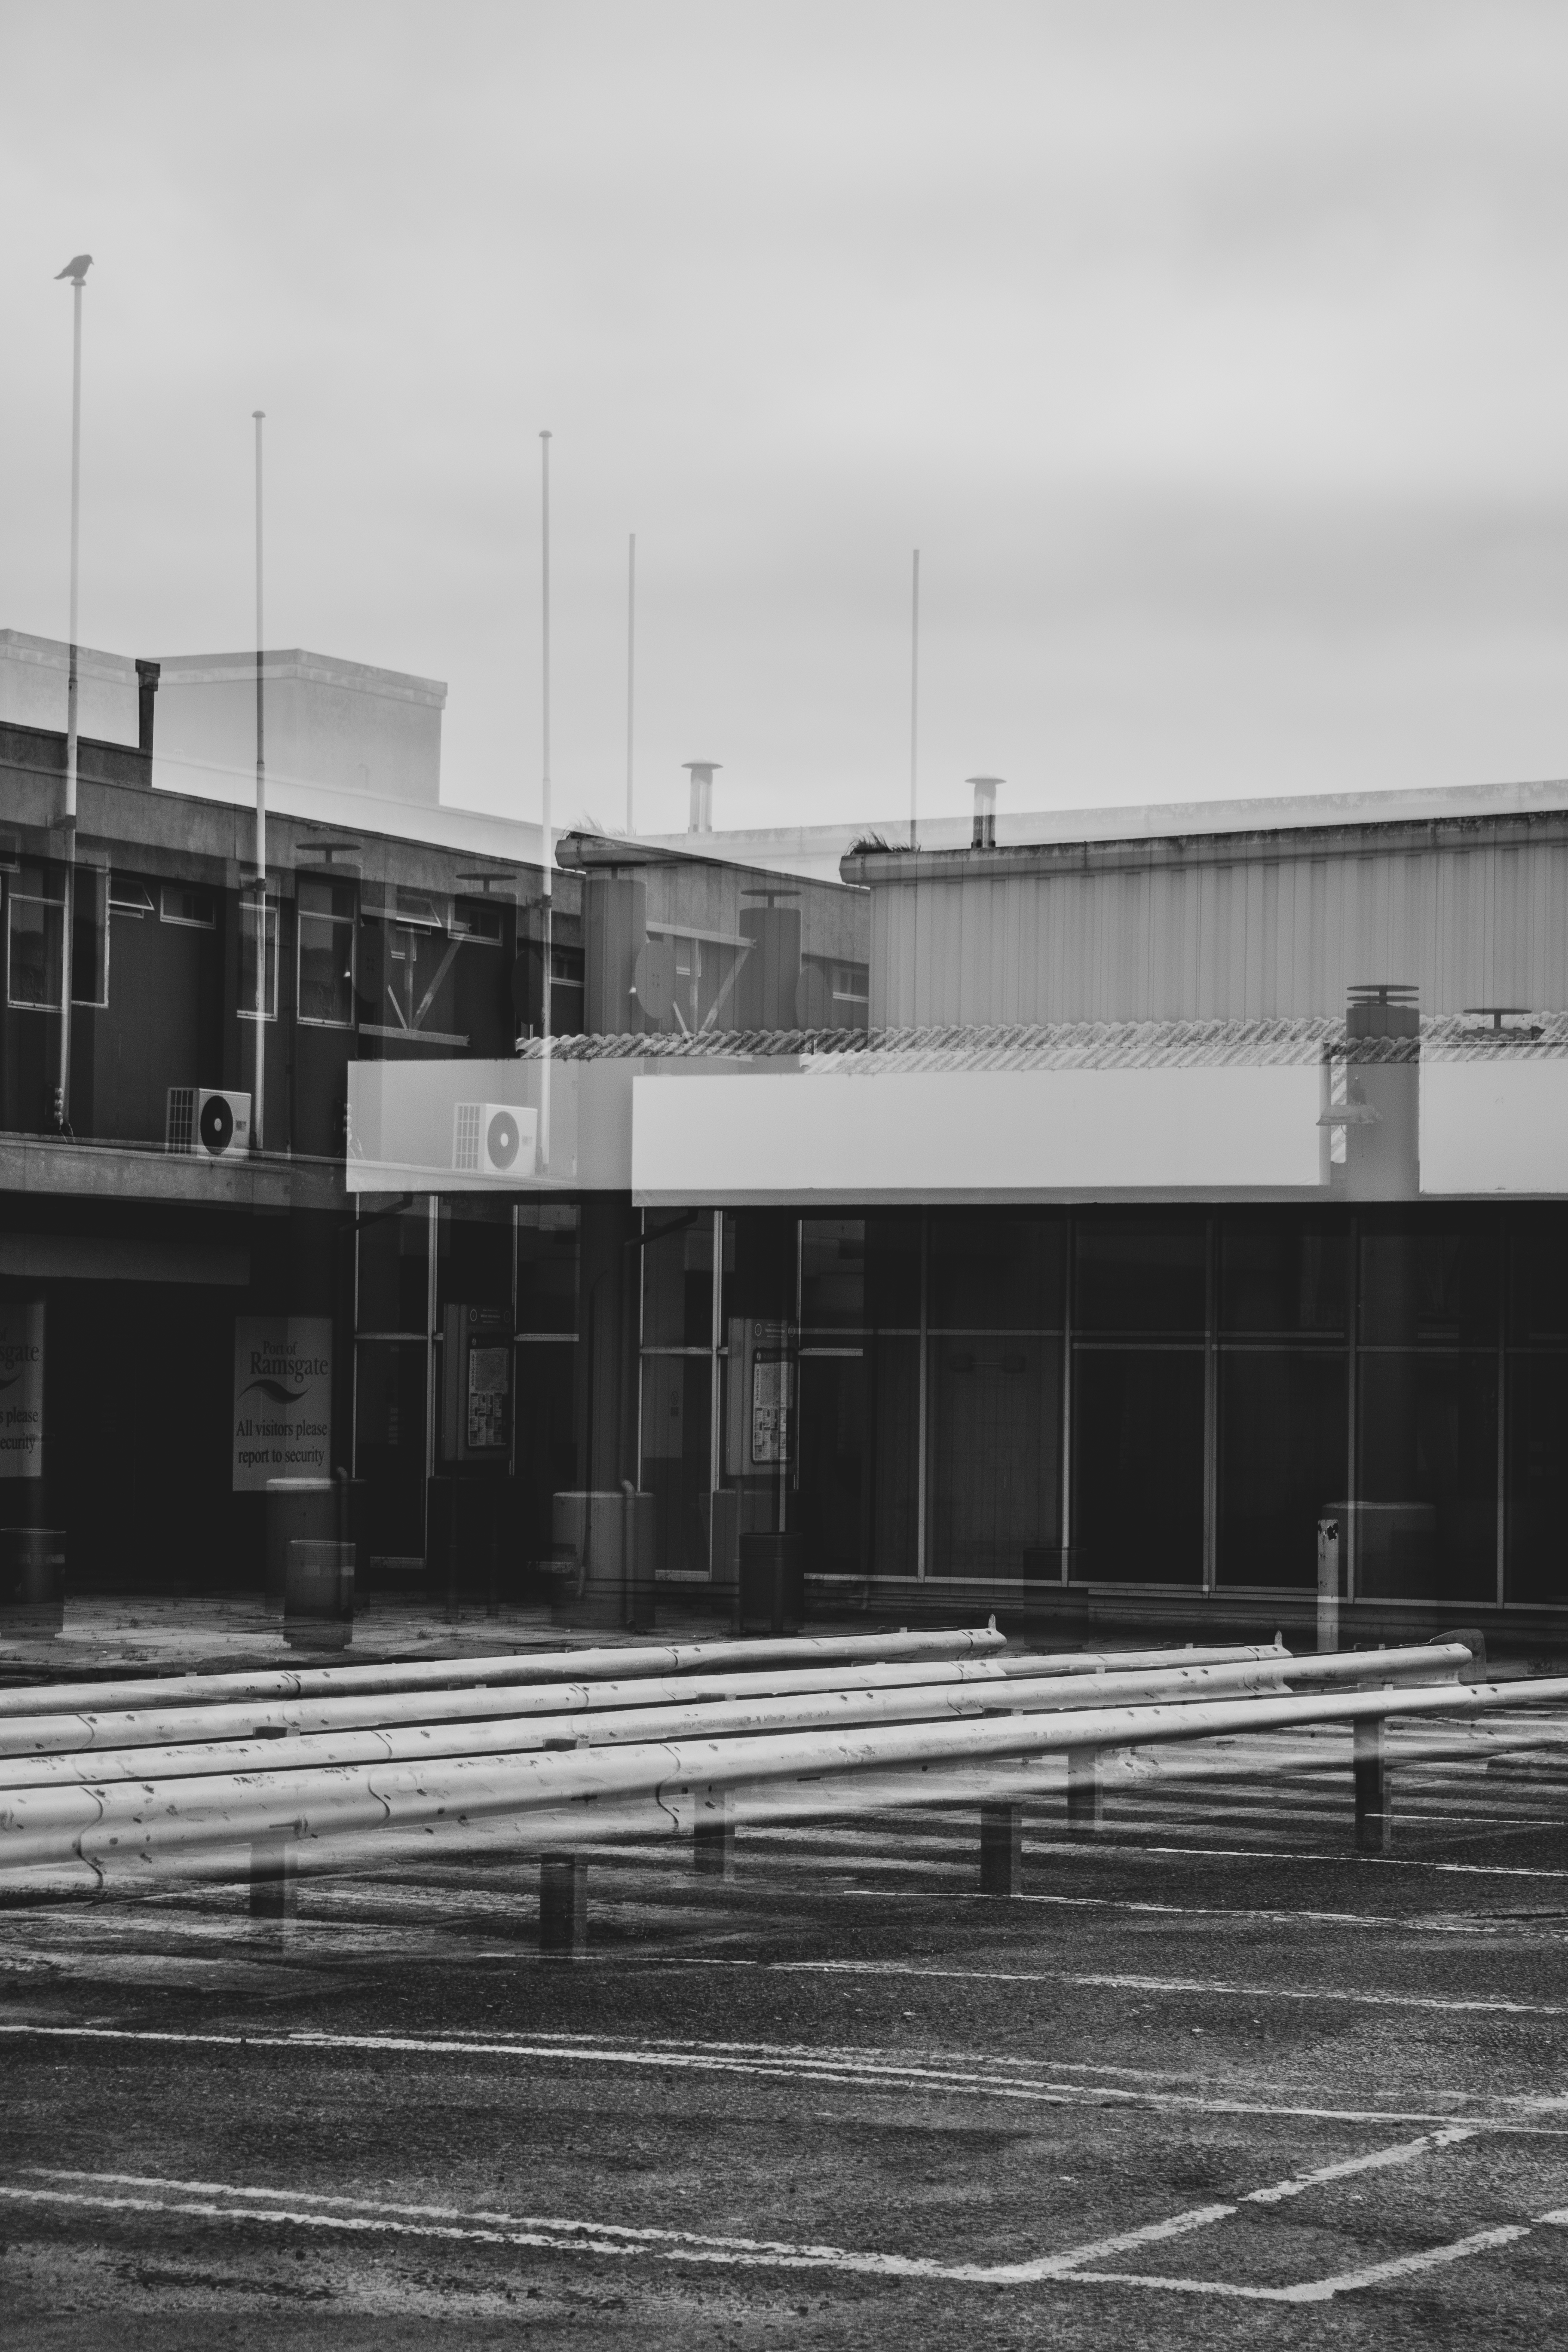
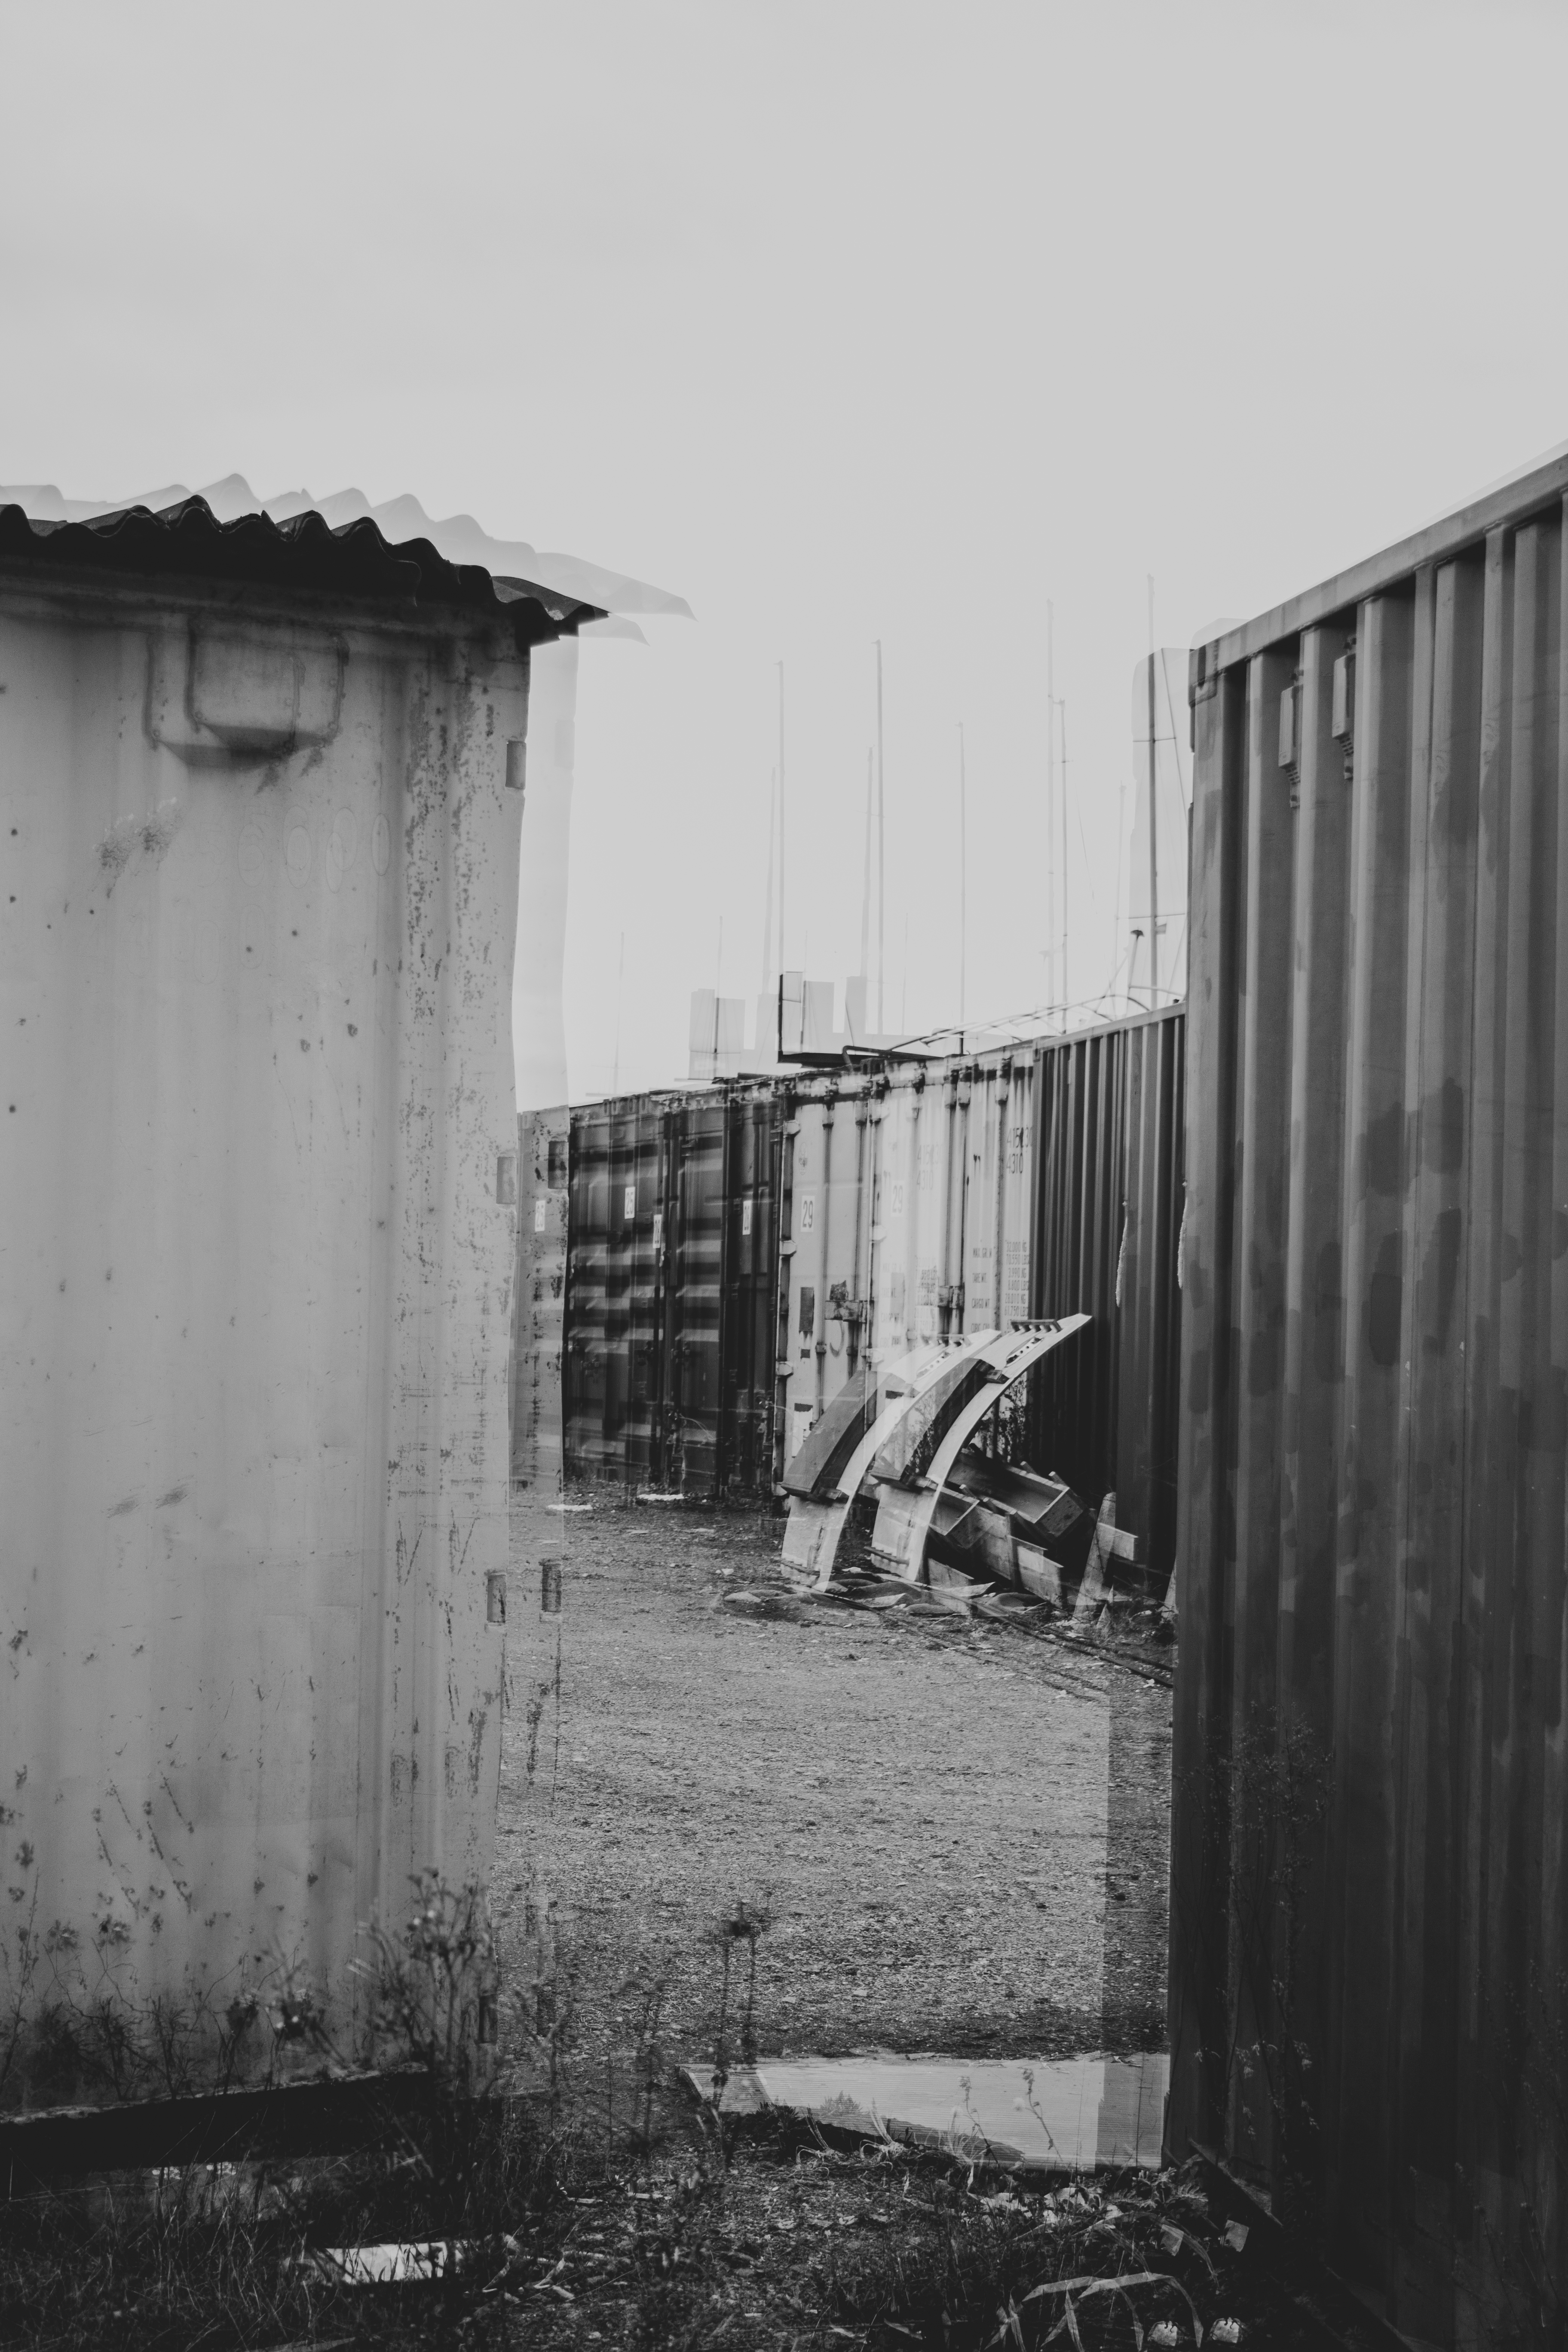
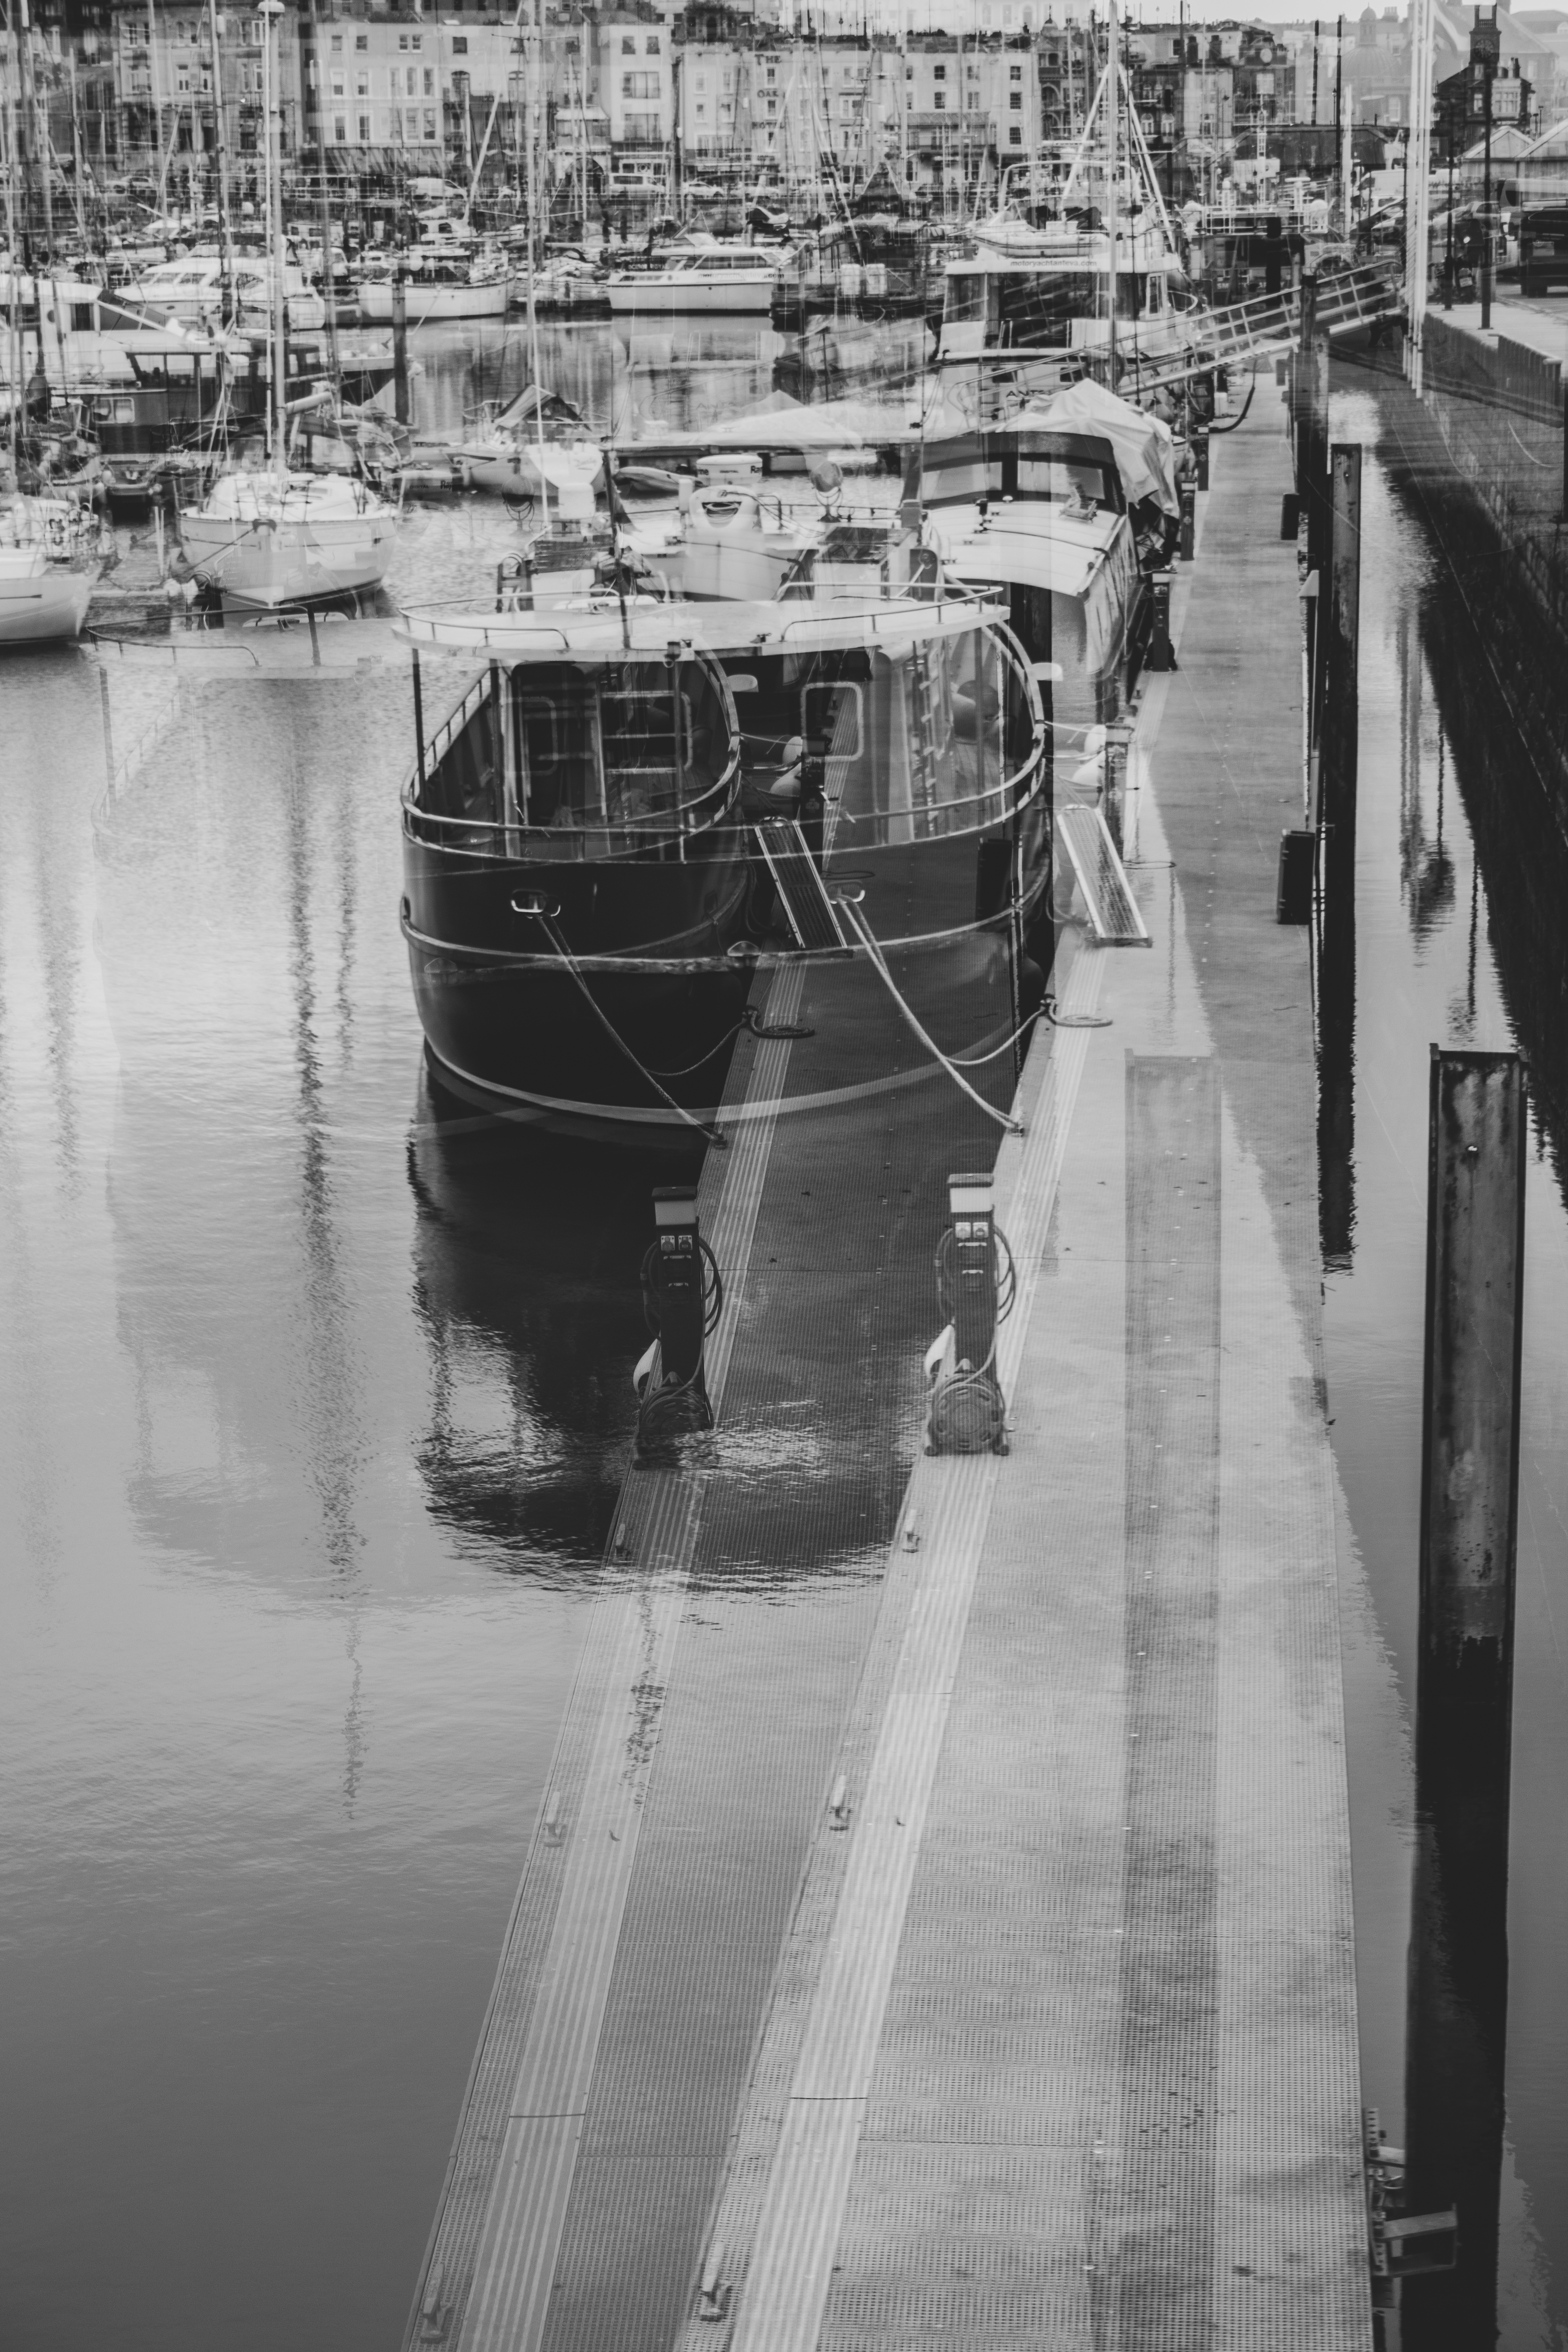
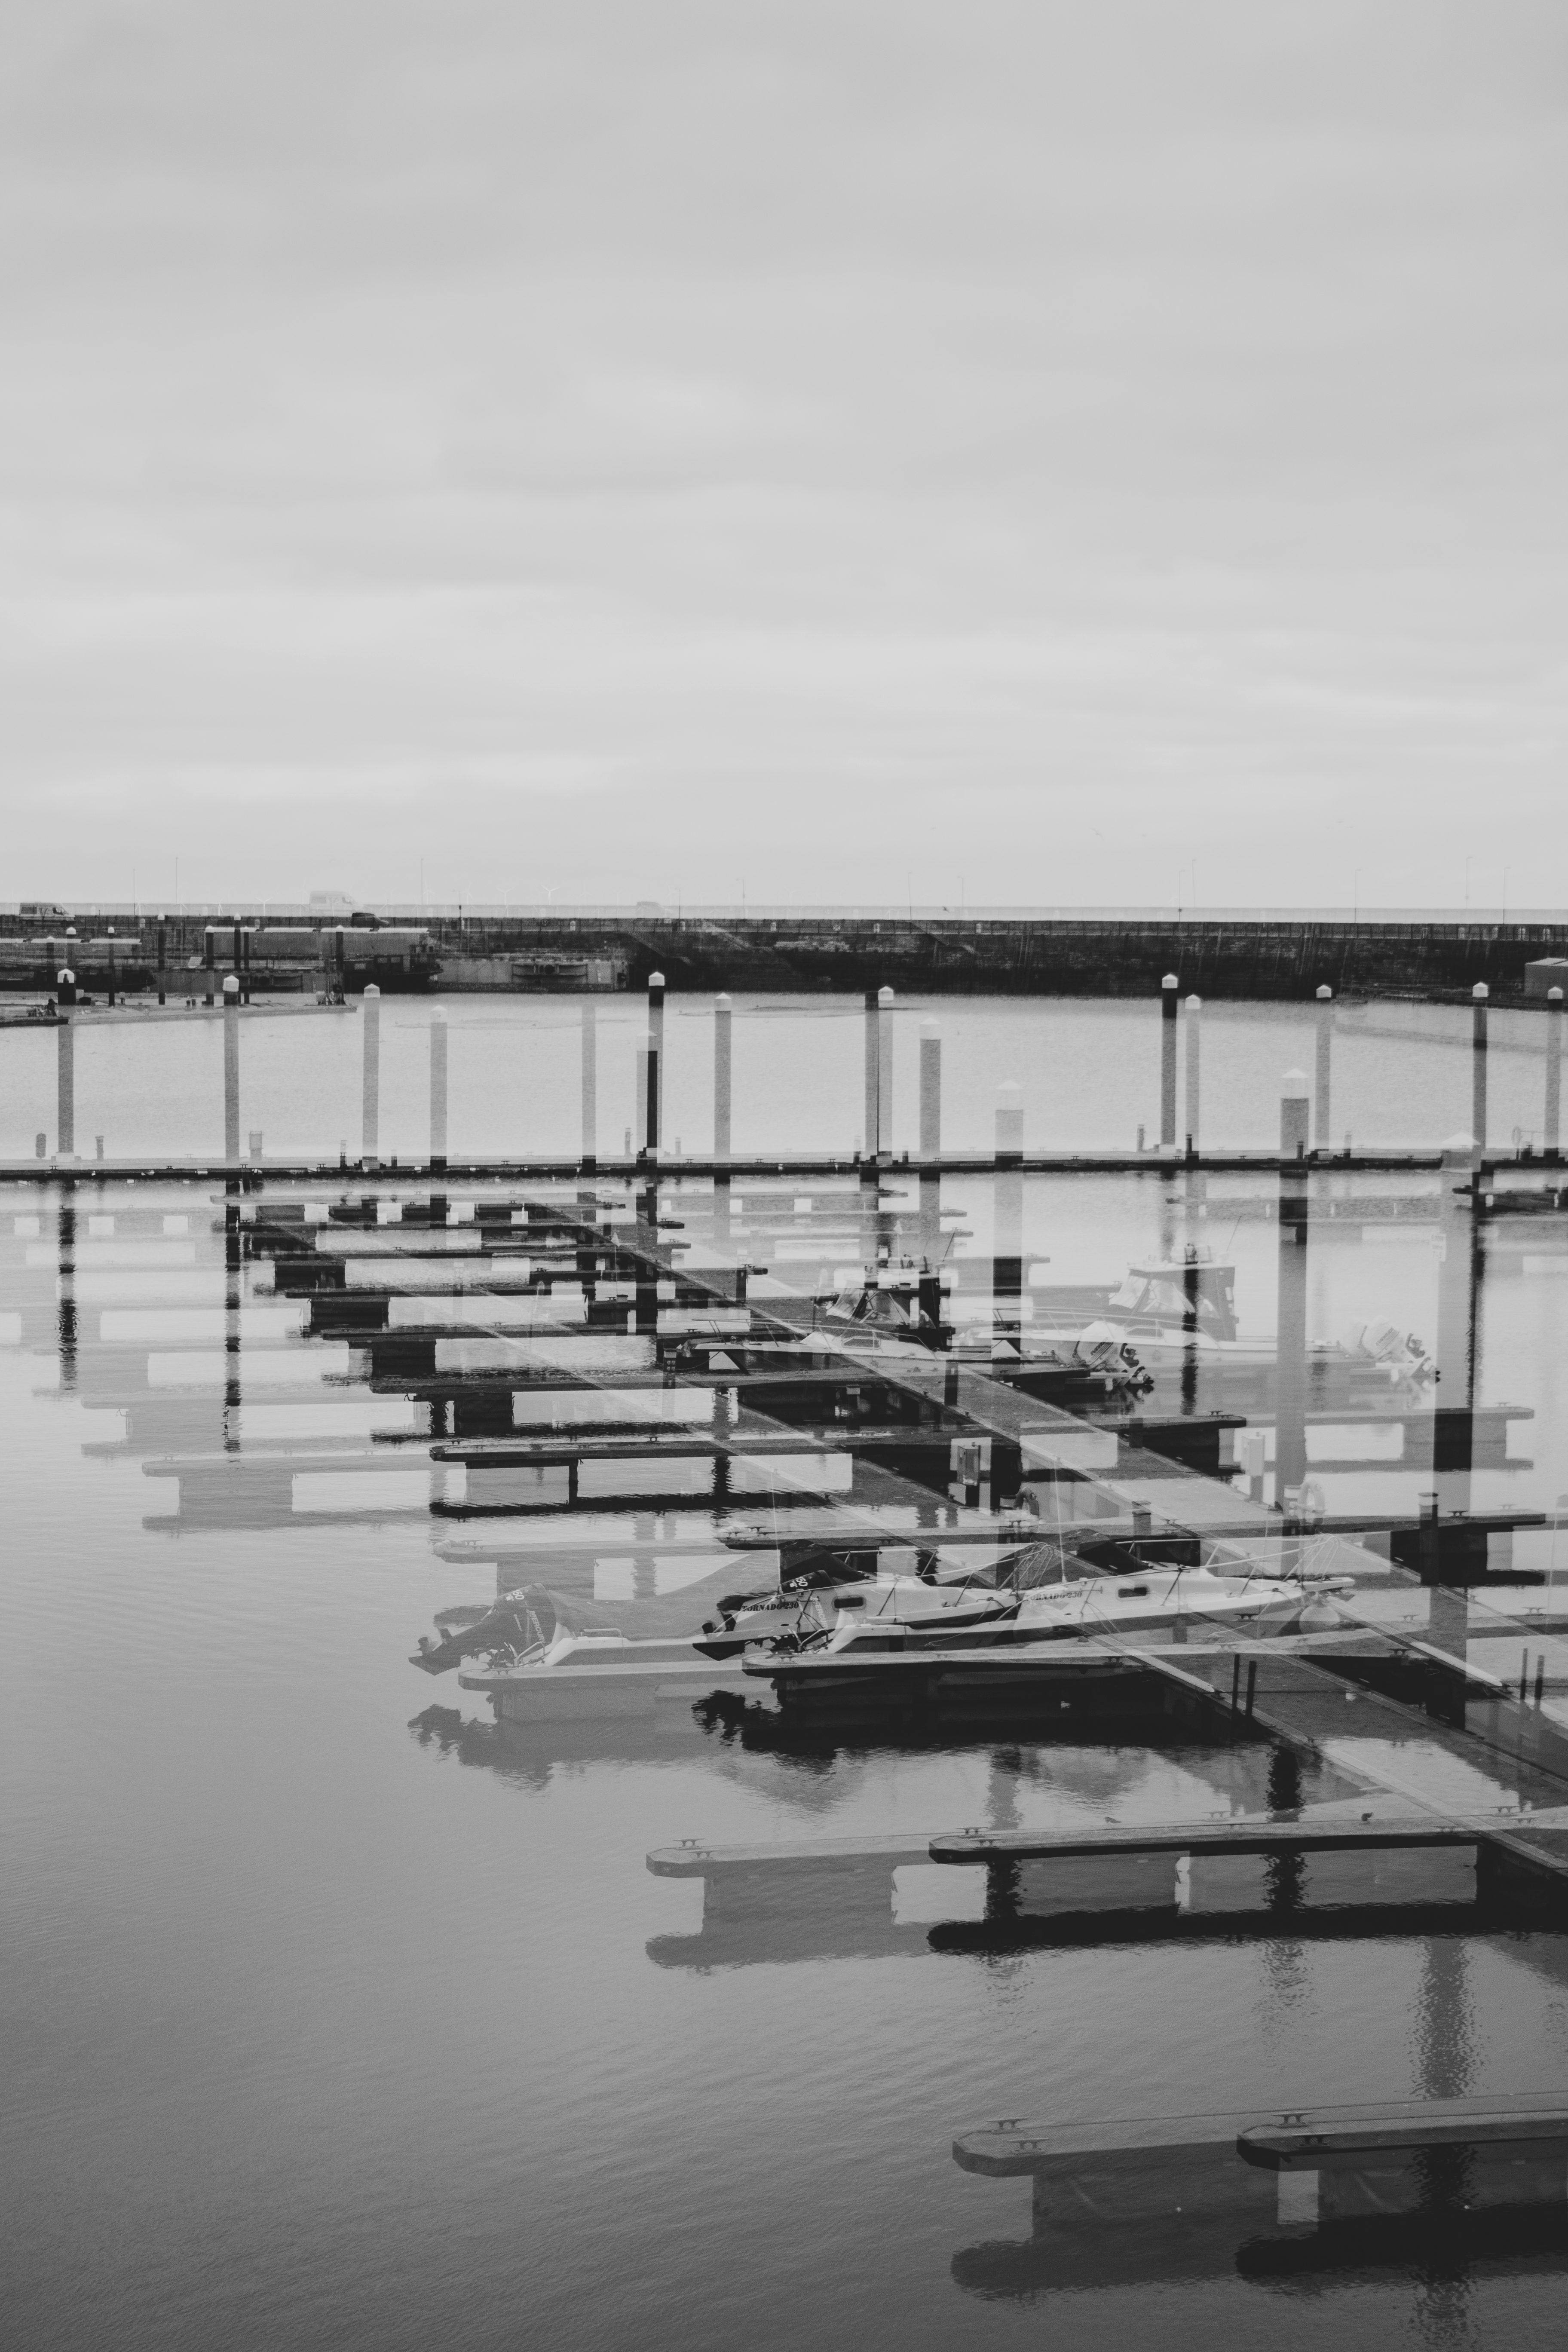
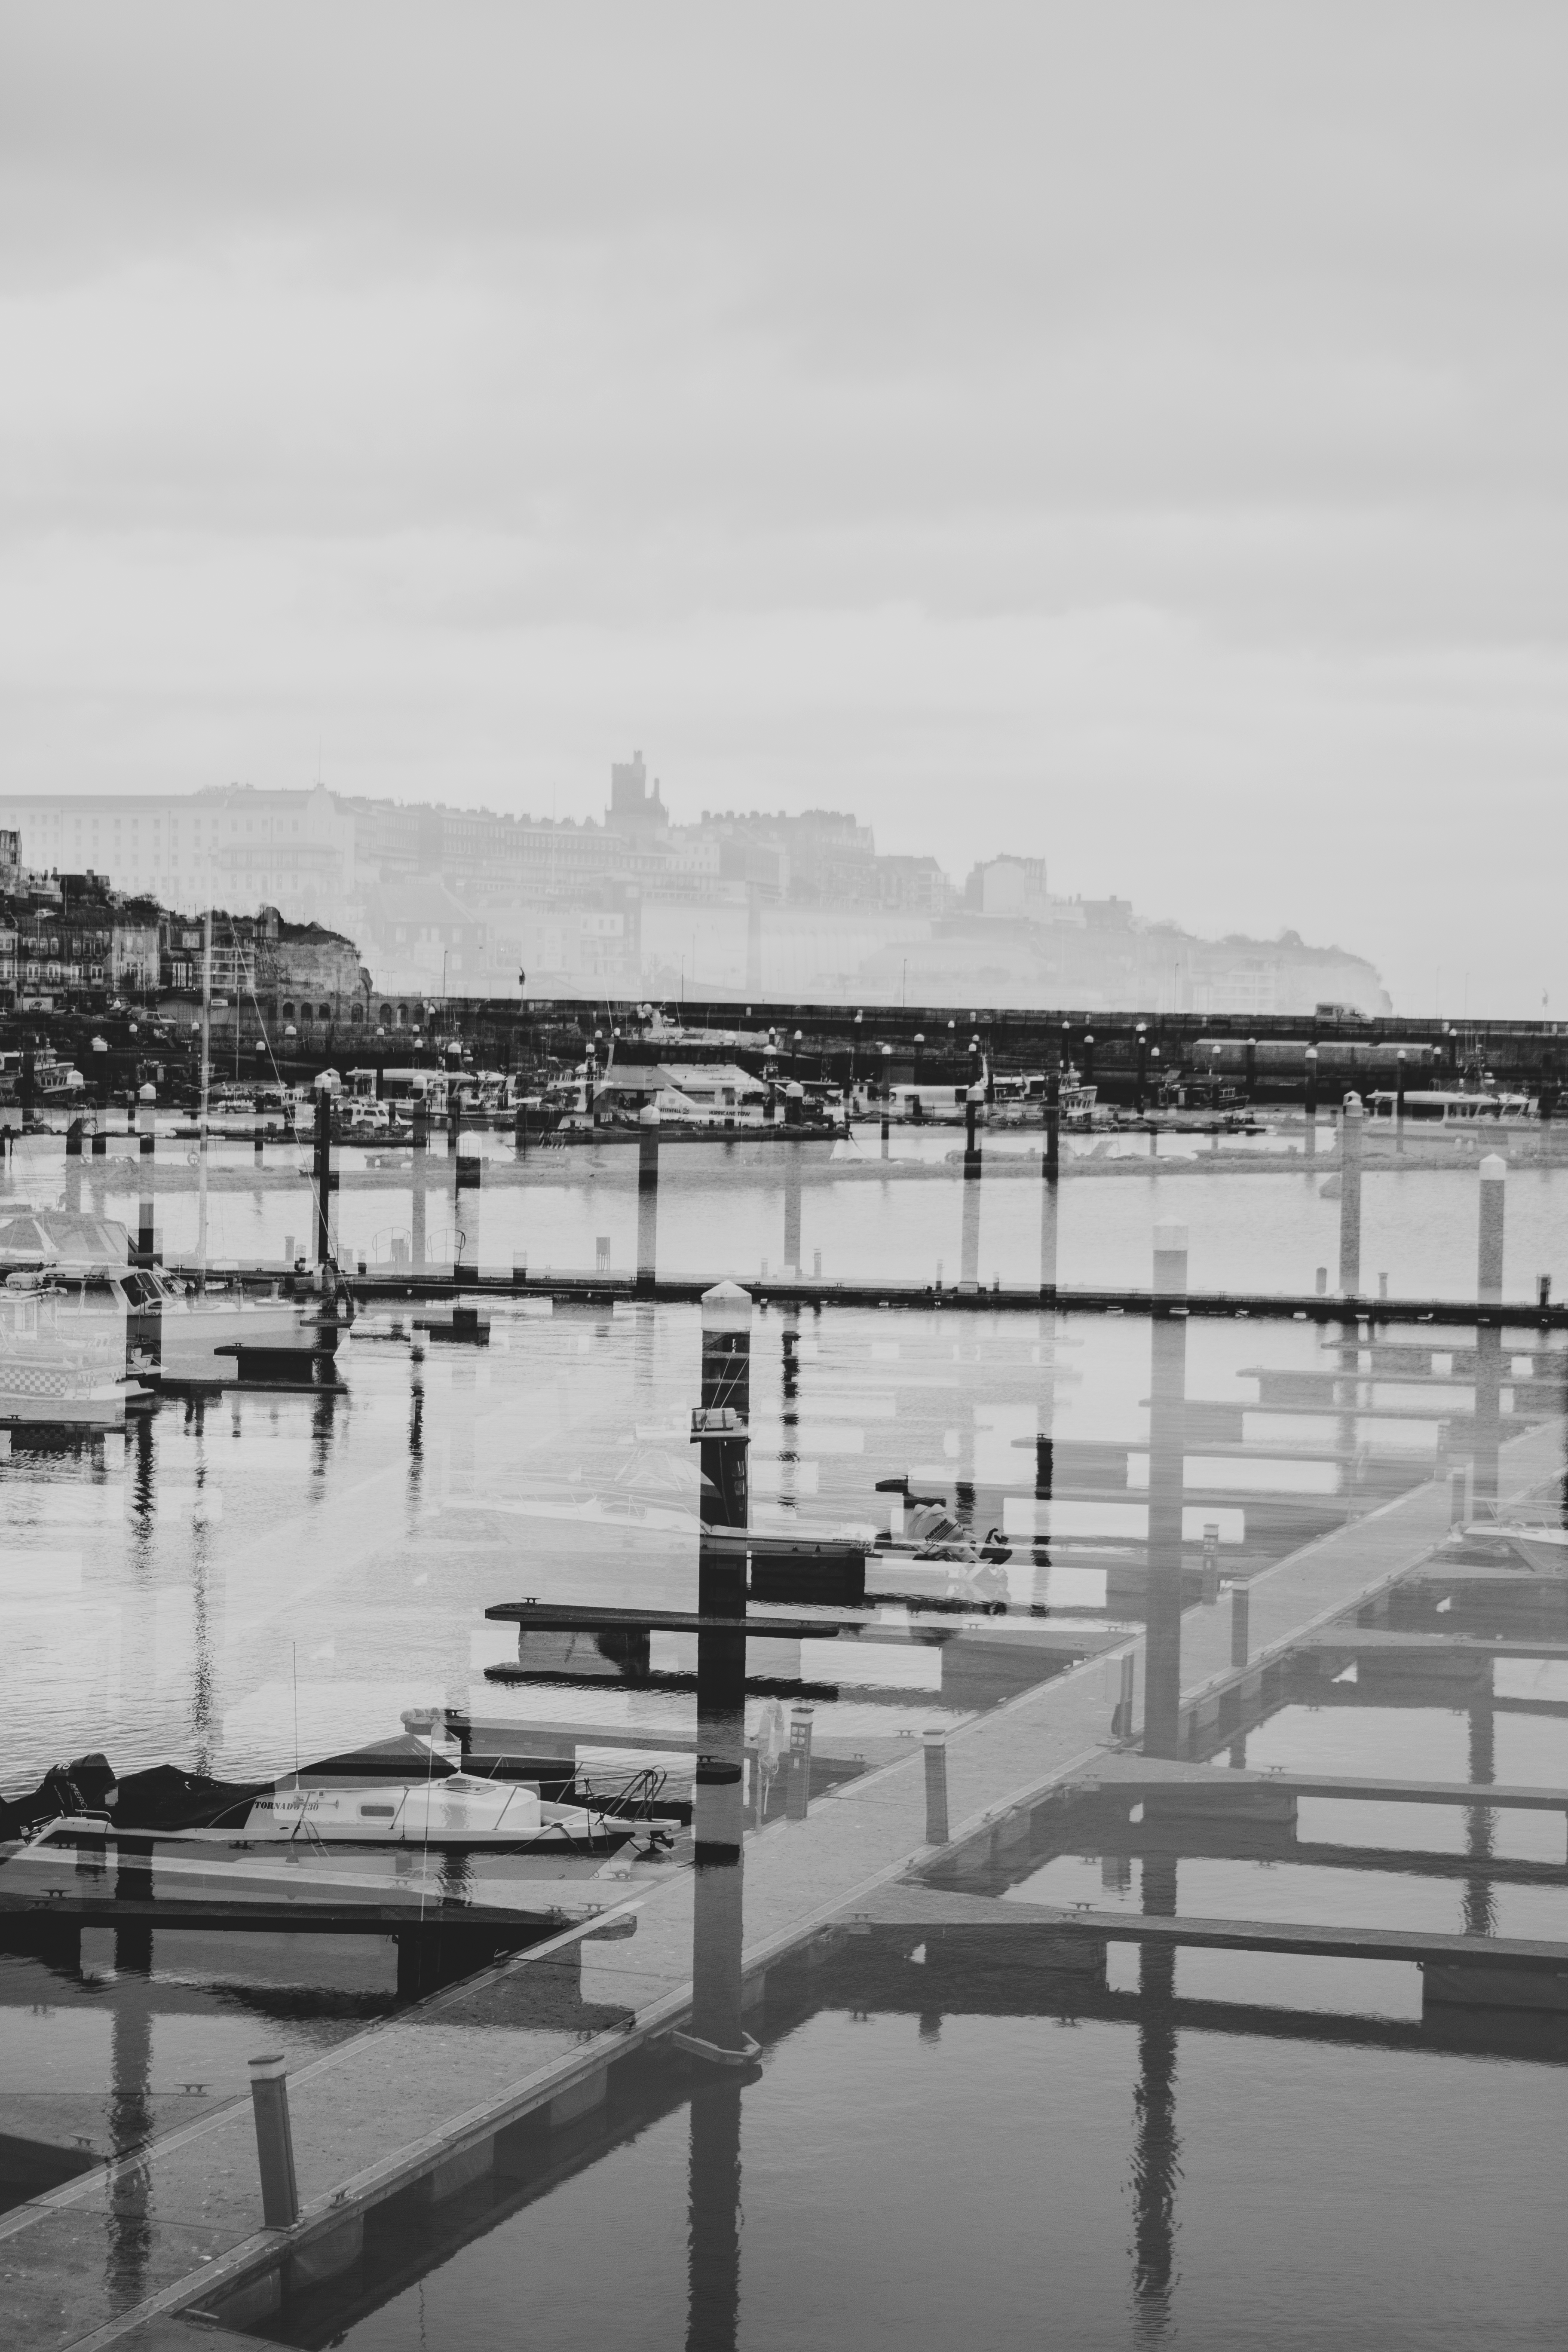
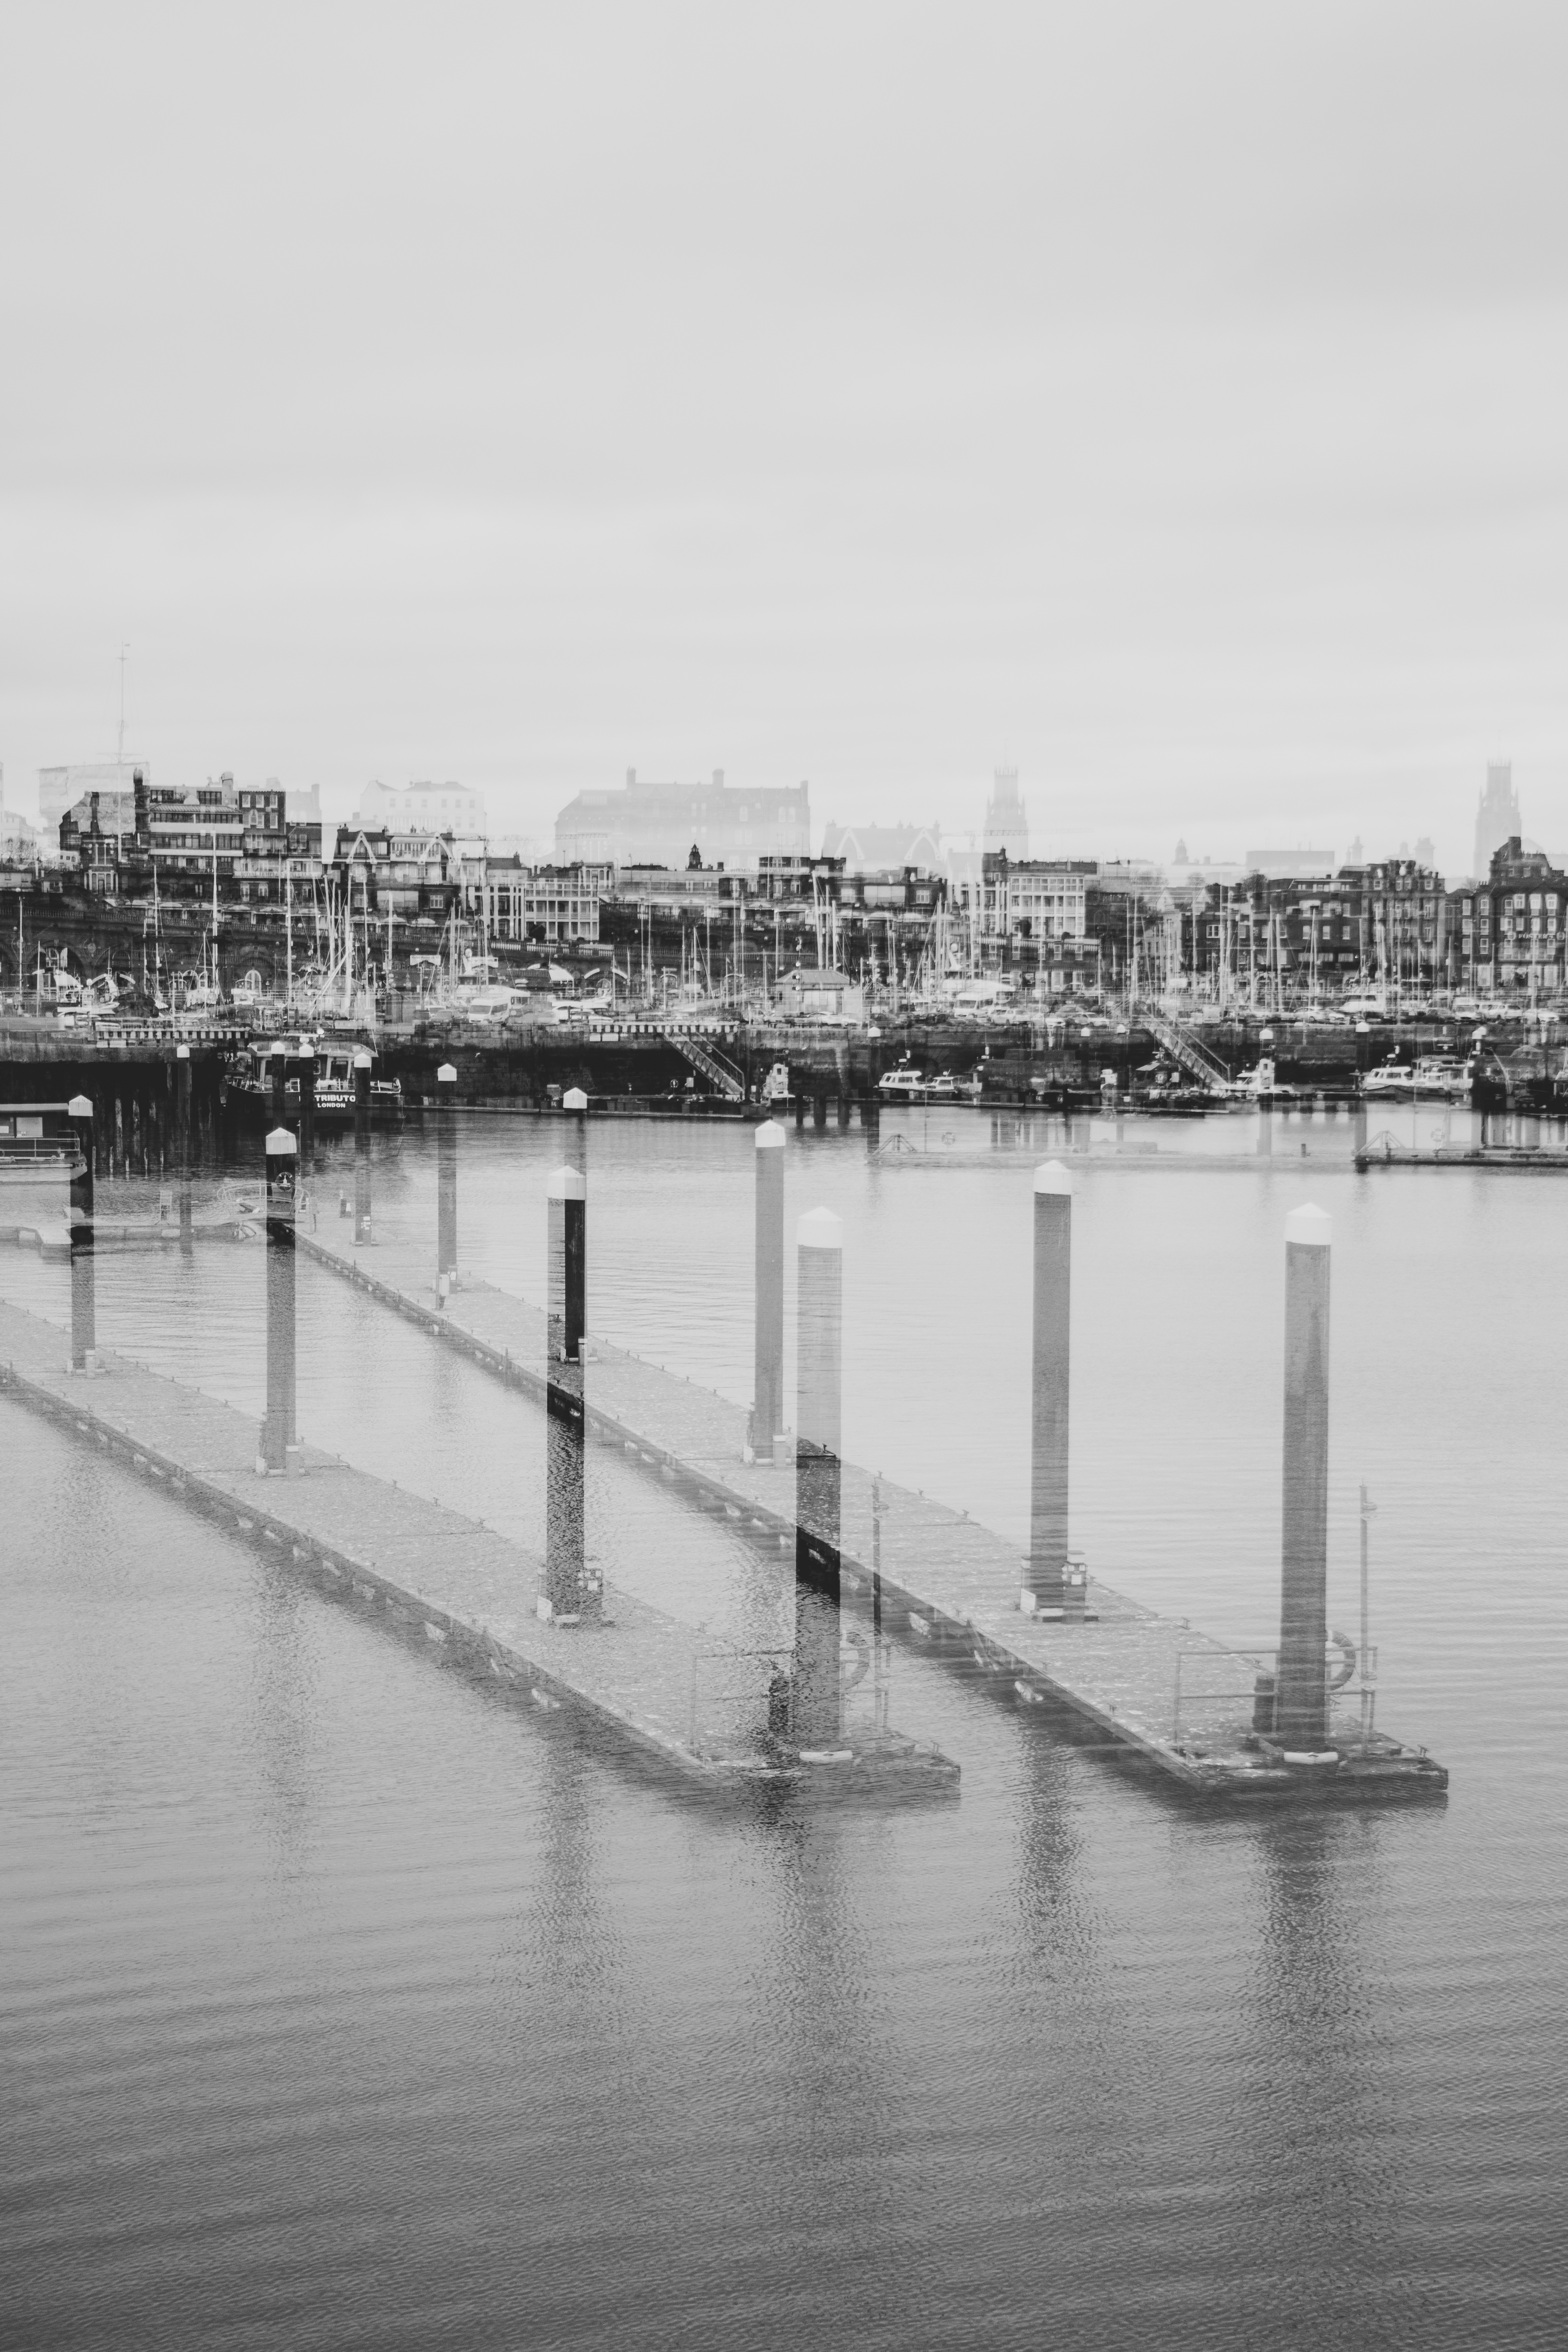
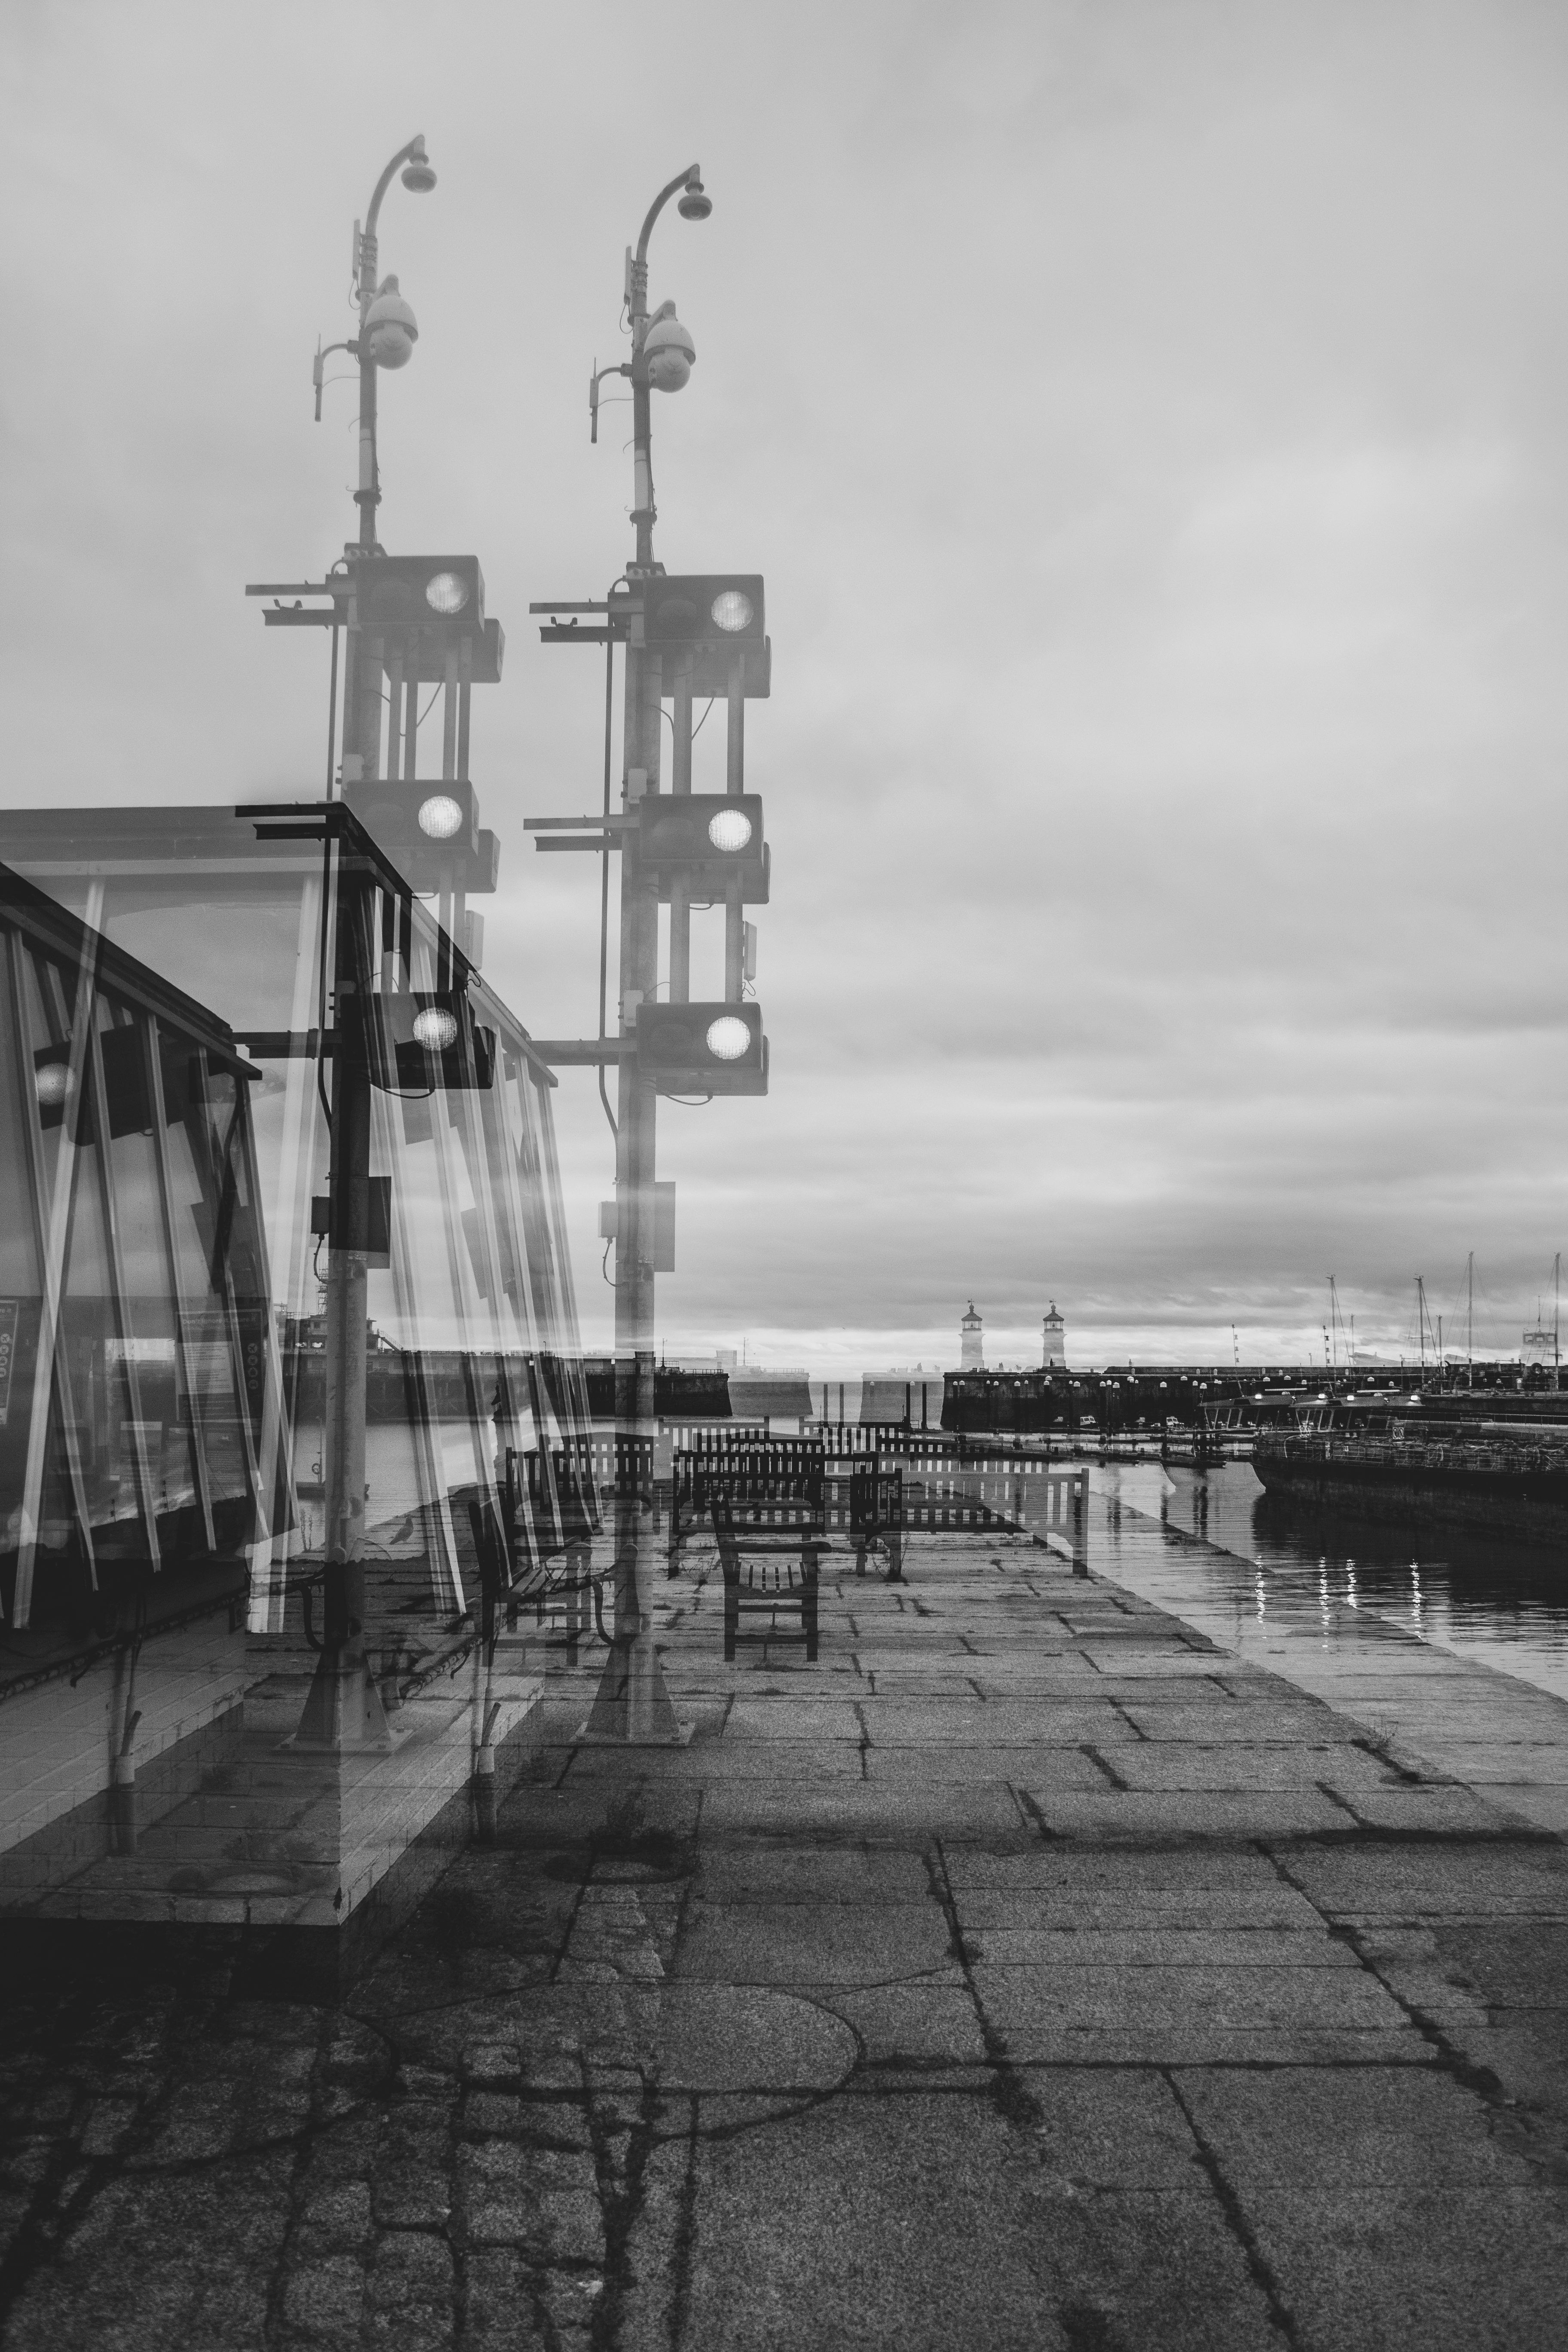
I have rounded down my favourites from these shoots, which relates to the theme of this project, however, which are visually exciting. I definitely want to use one of the closeup portraits of them, it best shows what it looks like when perhaps I’m talking to them. The other images are either closeup or distance, and I think it would be nice to show the difference between the two.

FINAL IMAGES

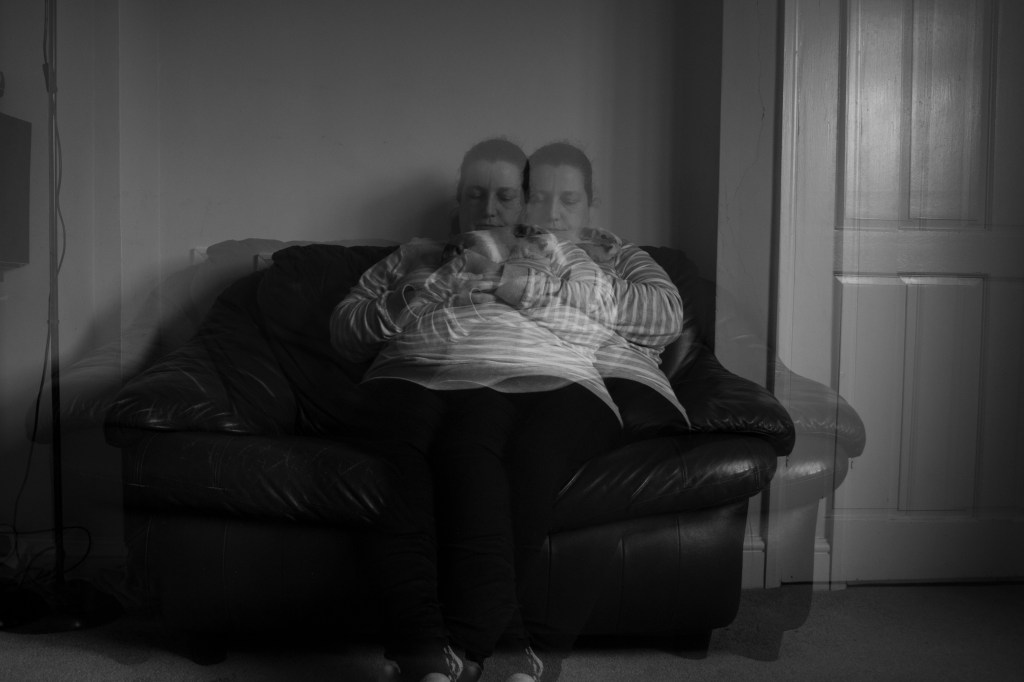
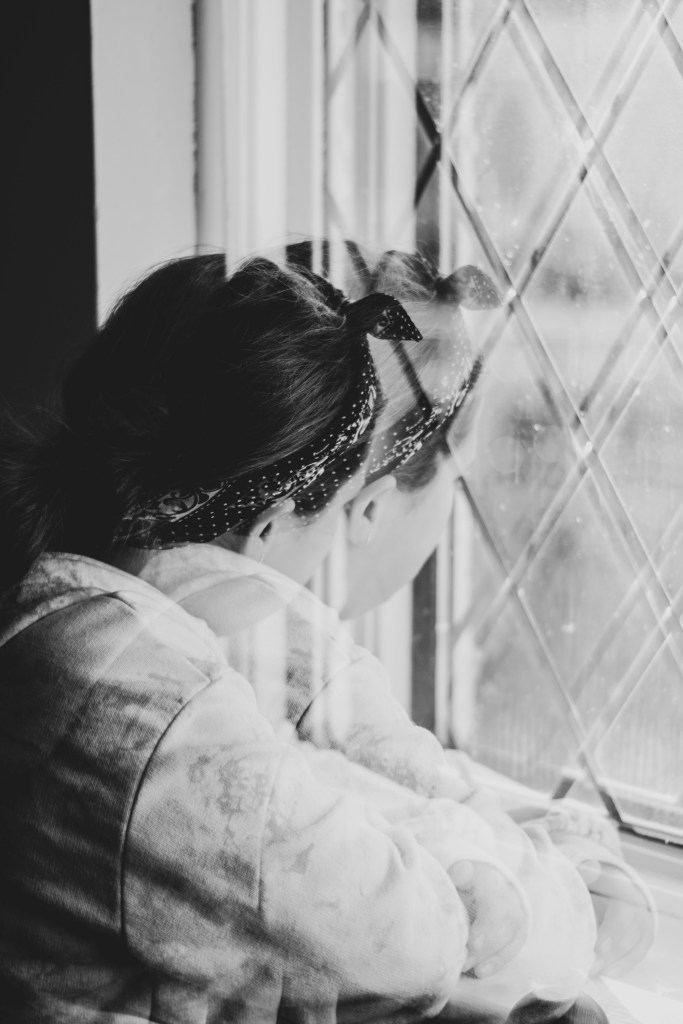
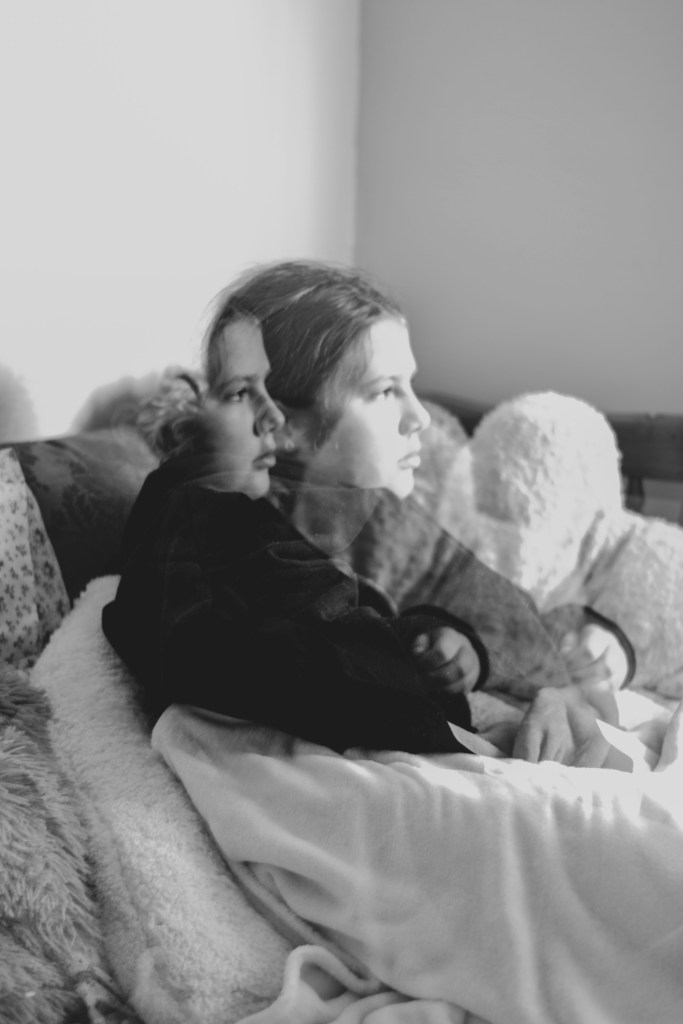
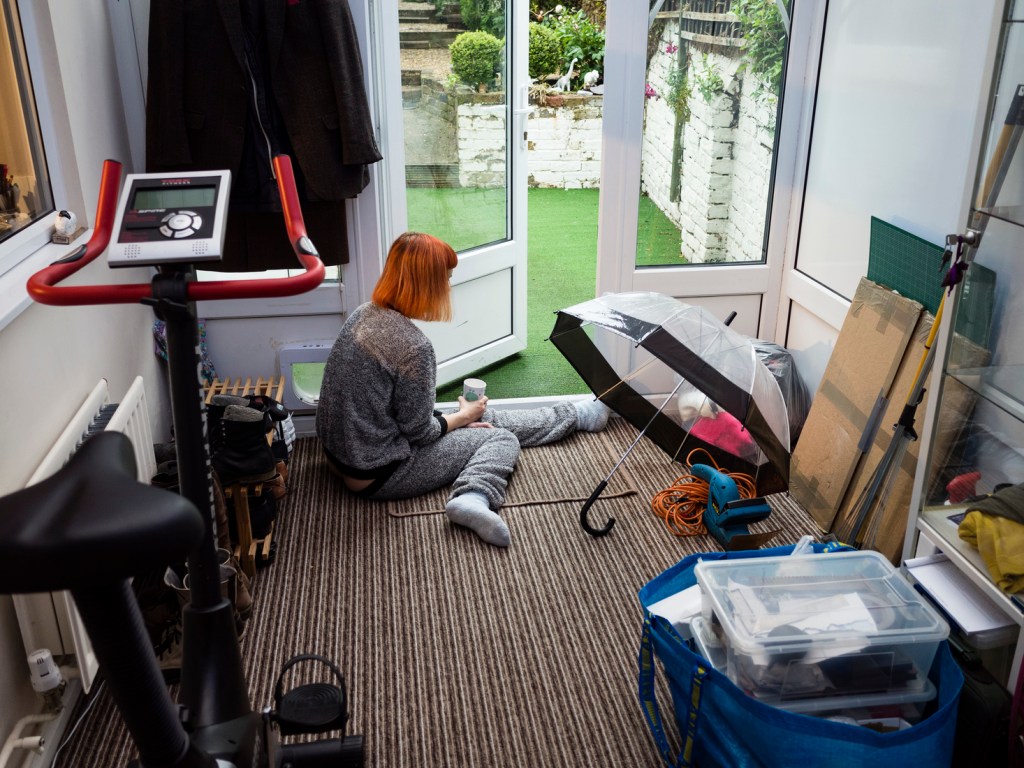
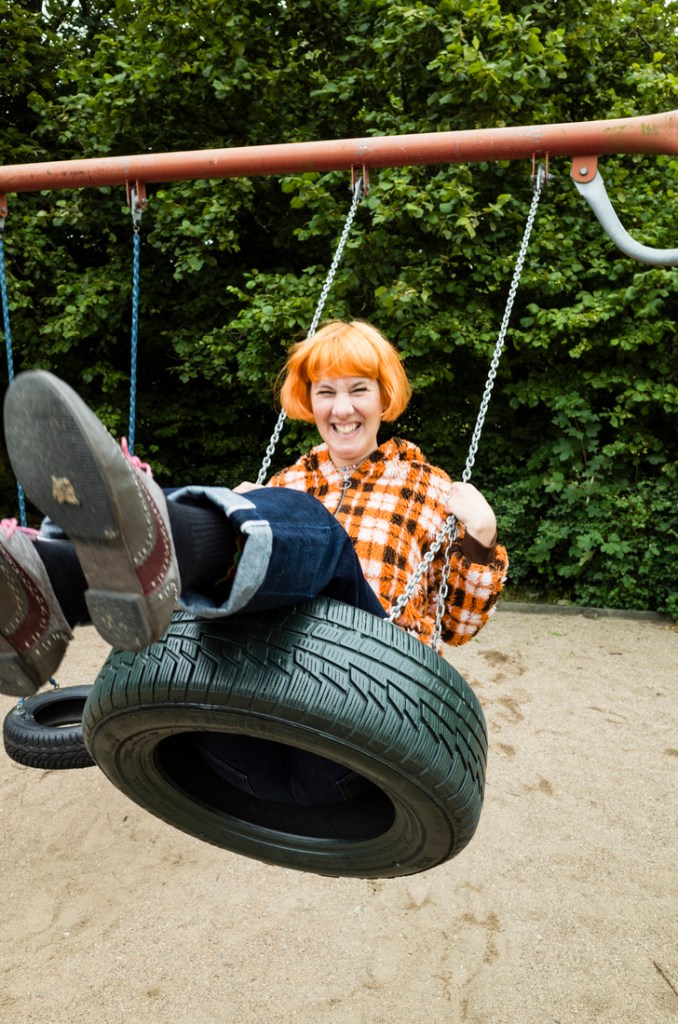
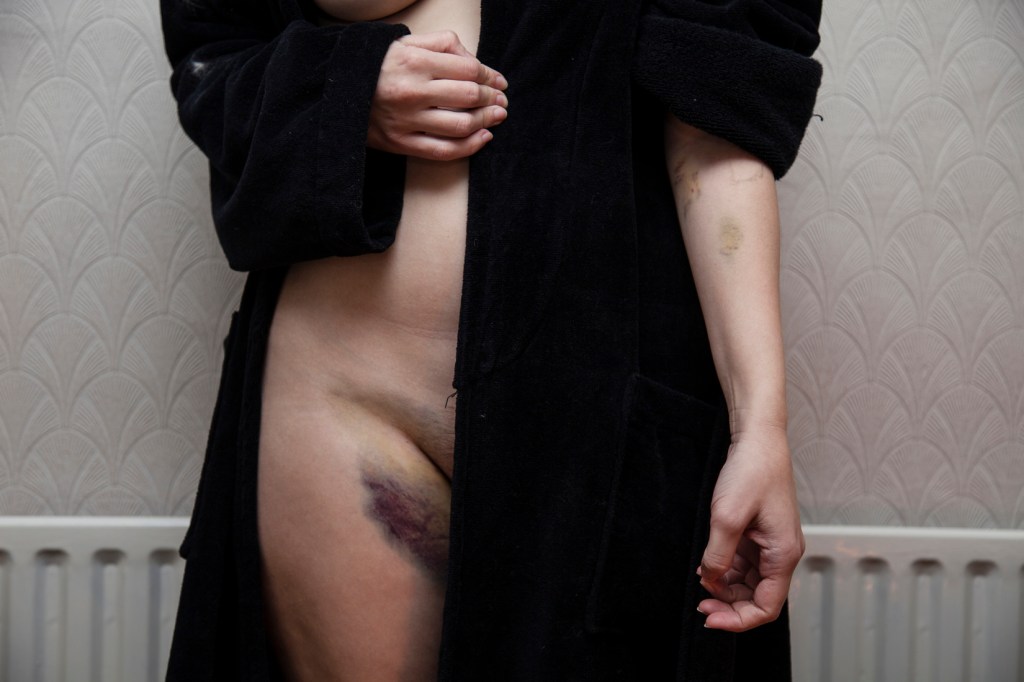
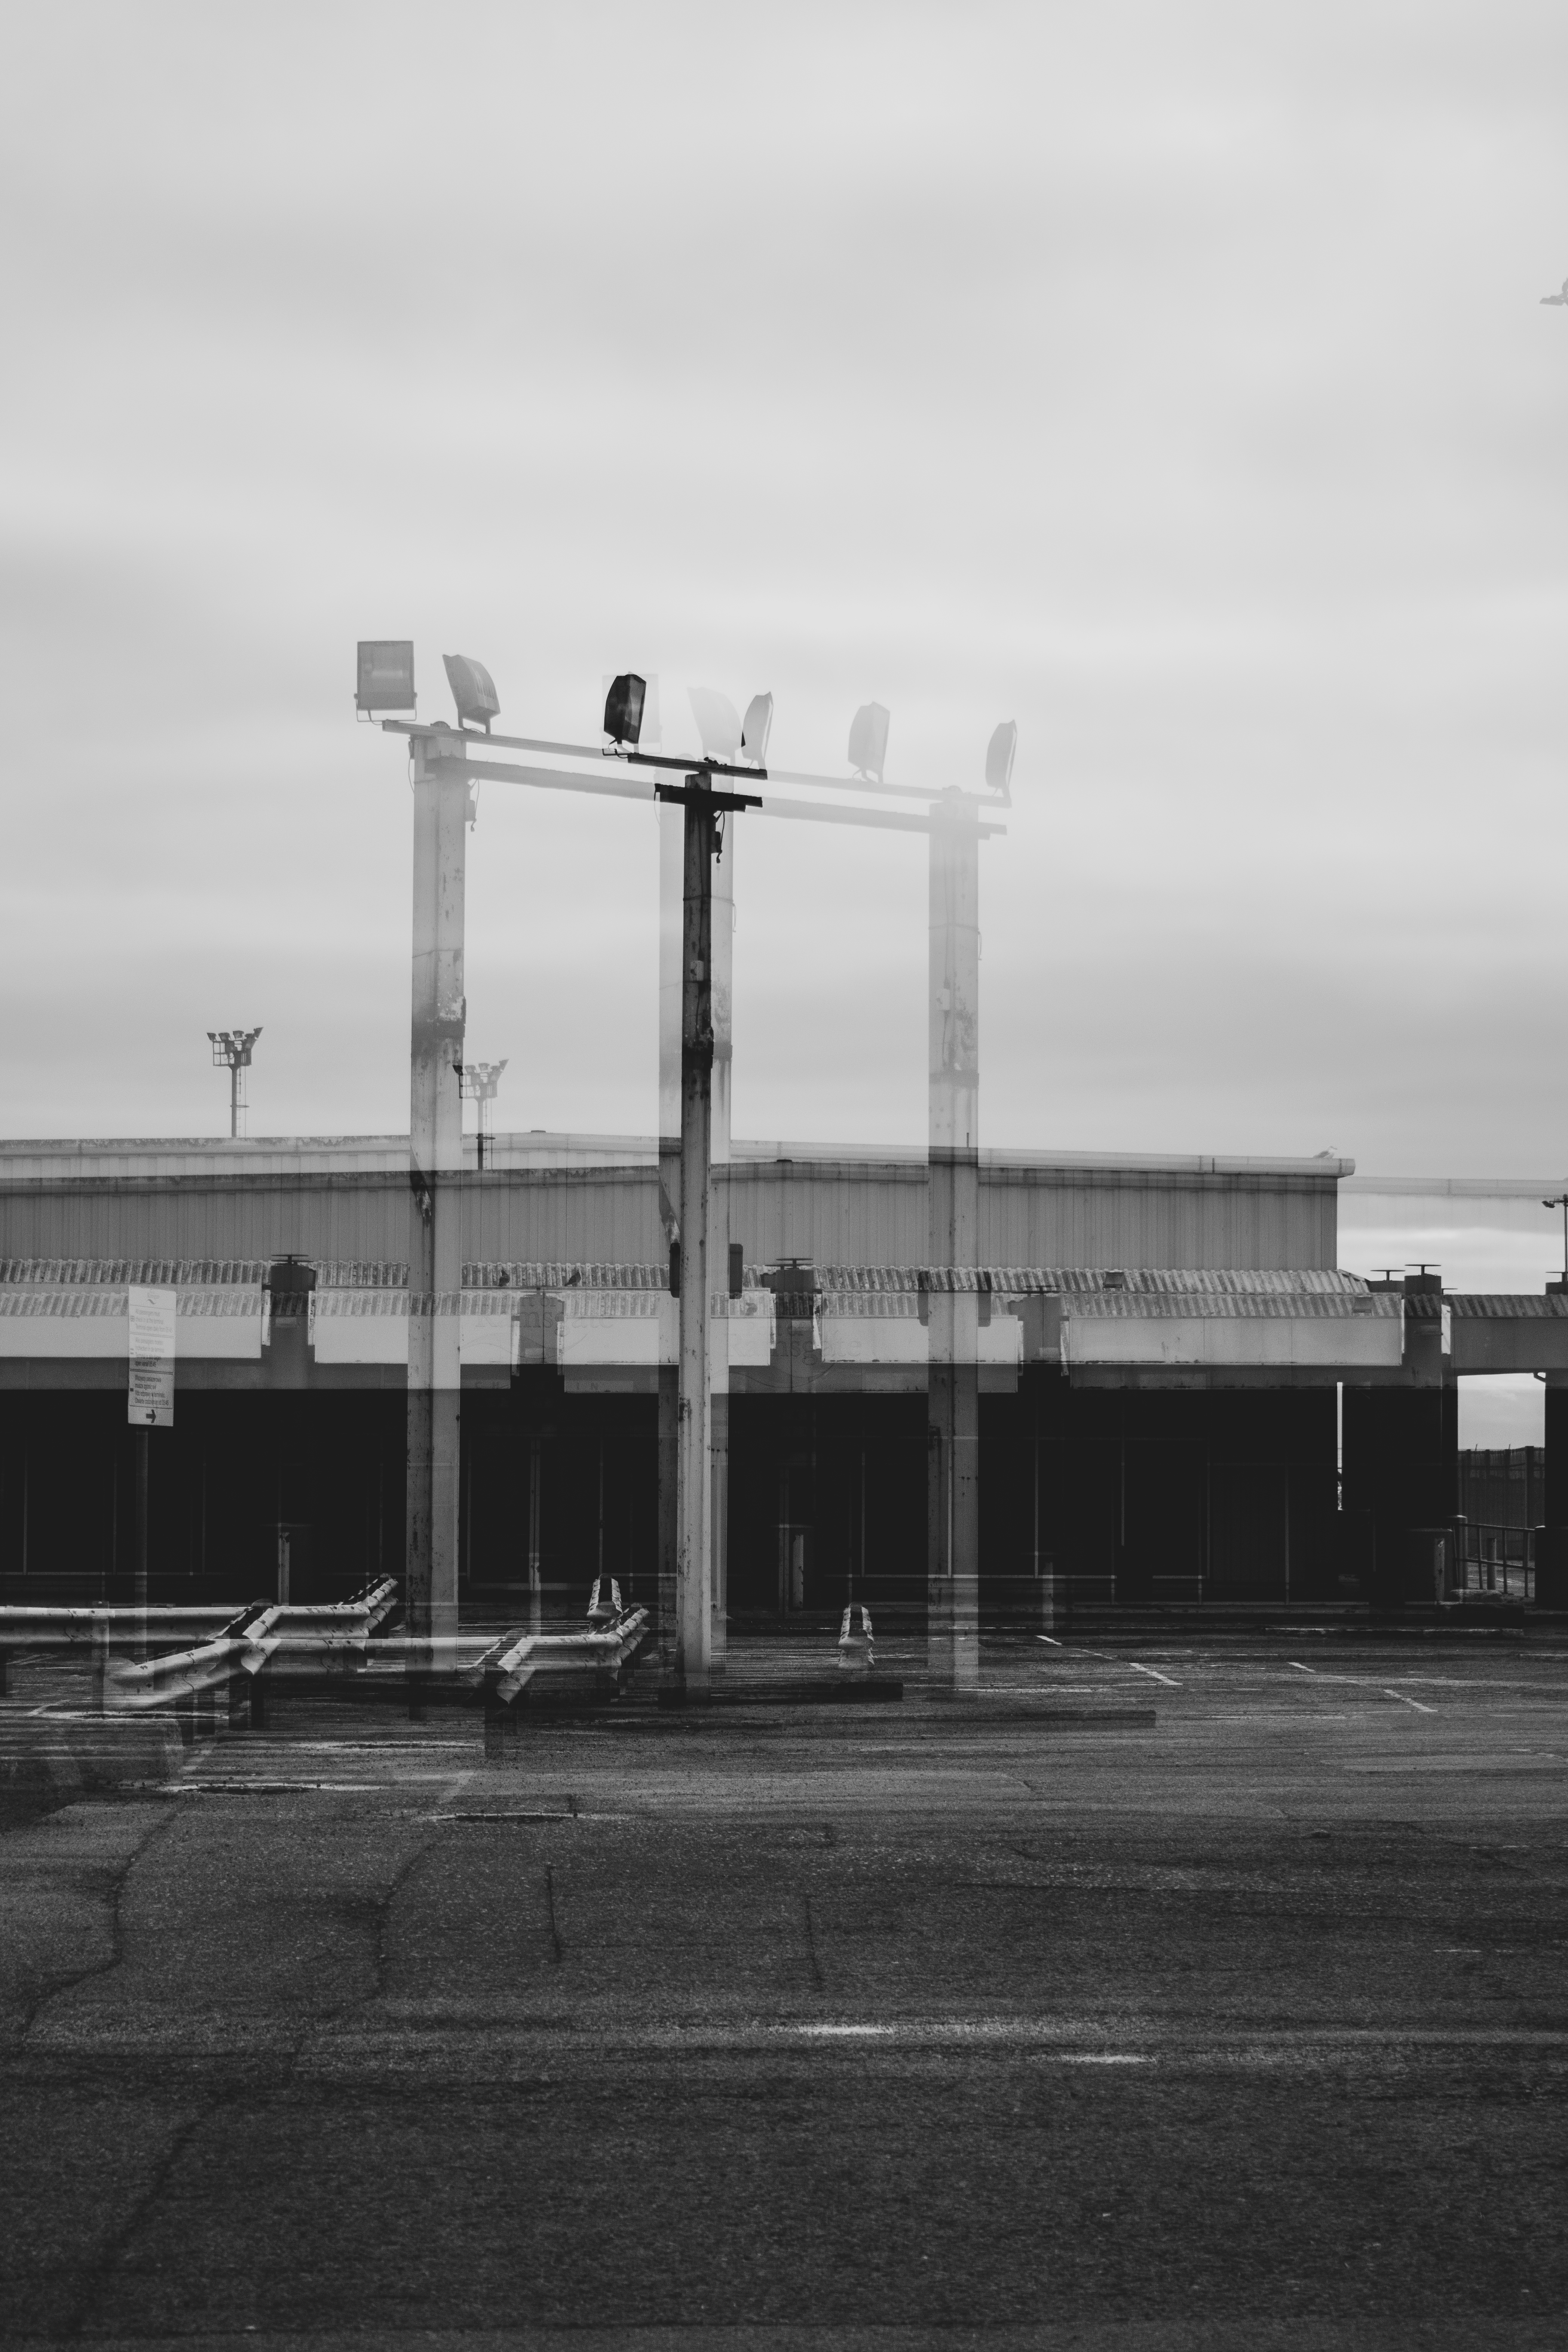
From all the feedback and putting together different images, I’ve decided to go with the four above. Because i like how half of the photos are close-ups so you can see the details of there face, but then the distance images put them in place to where their identity links them to.

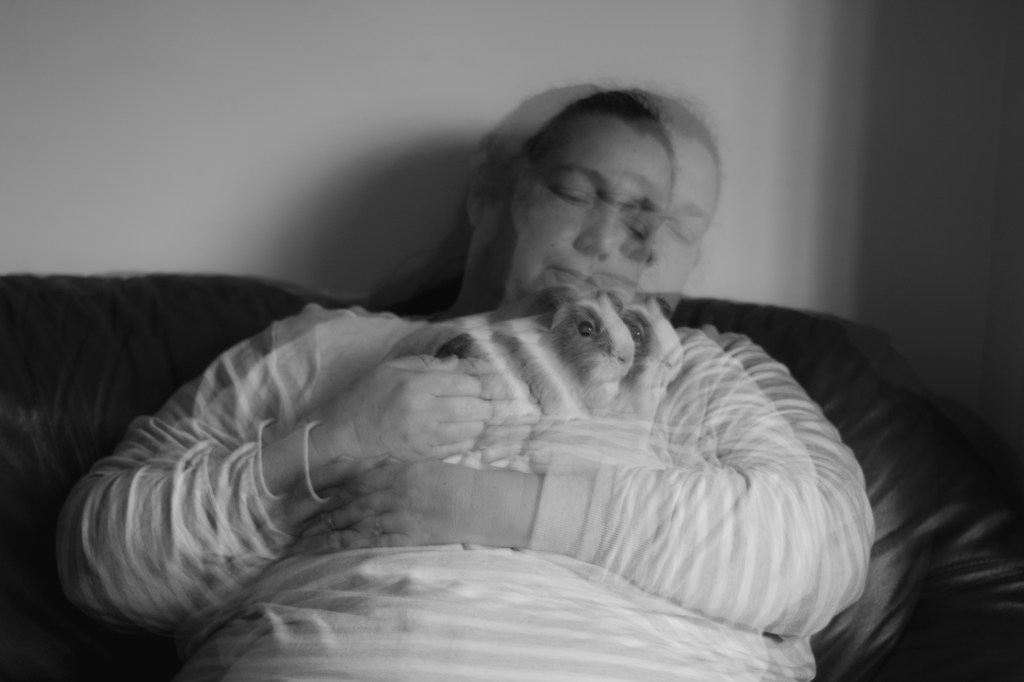
The last image of the series above, I was not going to use, but instead, use a close-up of her holding the guinea pig, but it felt like a series that mostly consisted of close-up portraits. That made the first image feel left out. So when I put the fourth image in it completed the series.

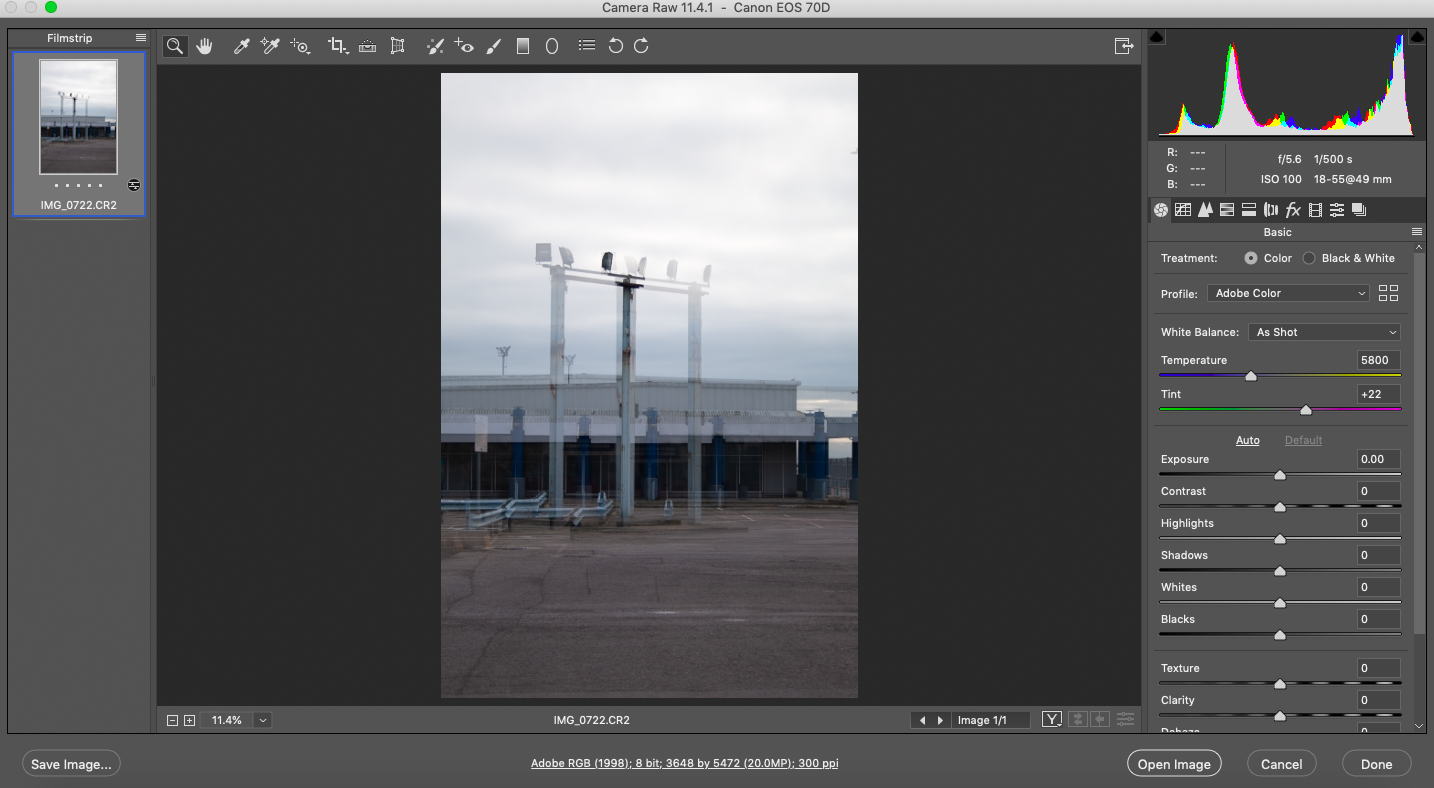
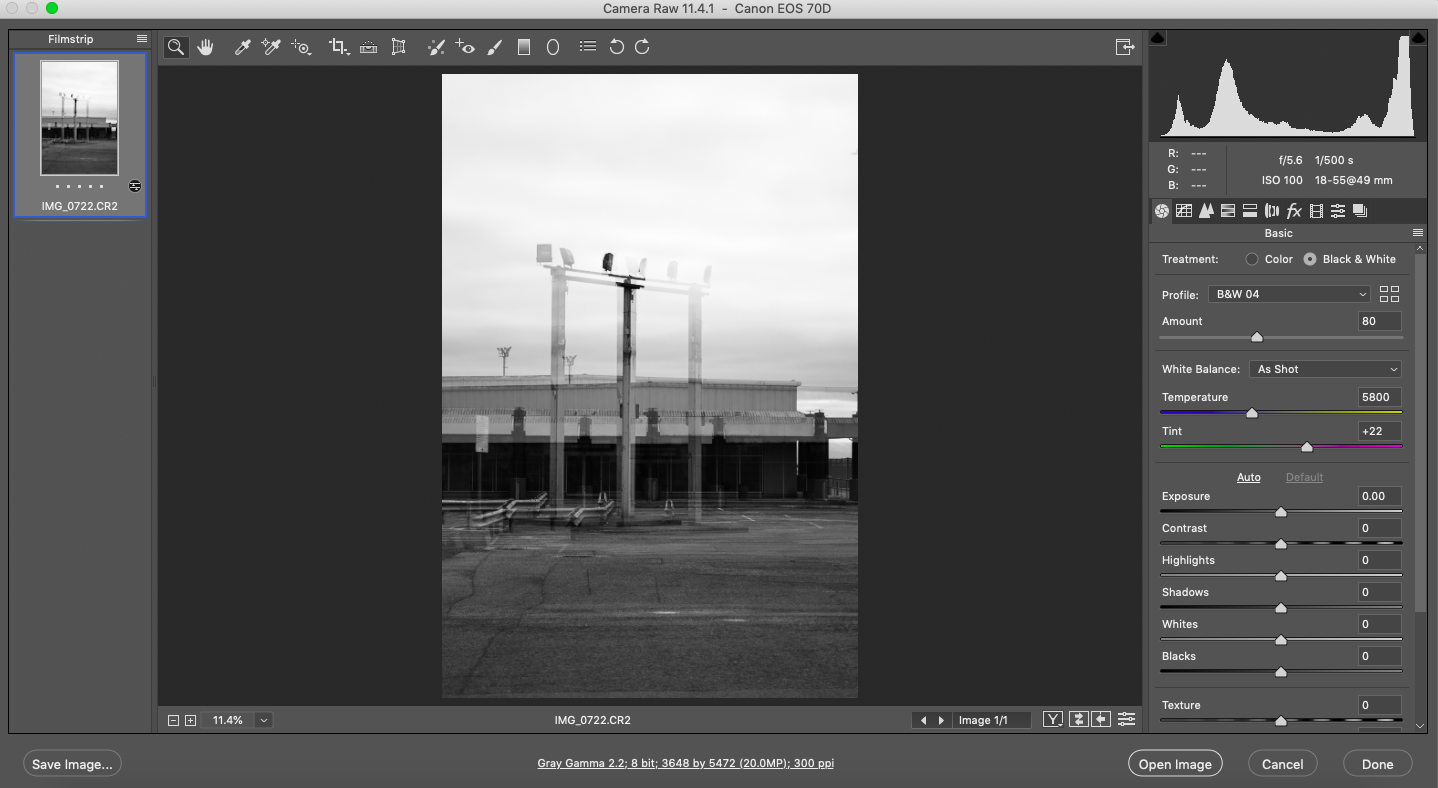
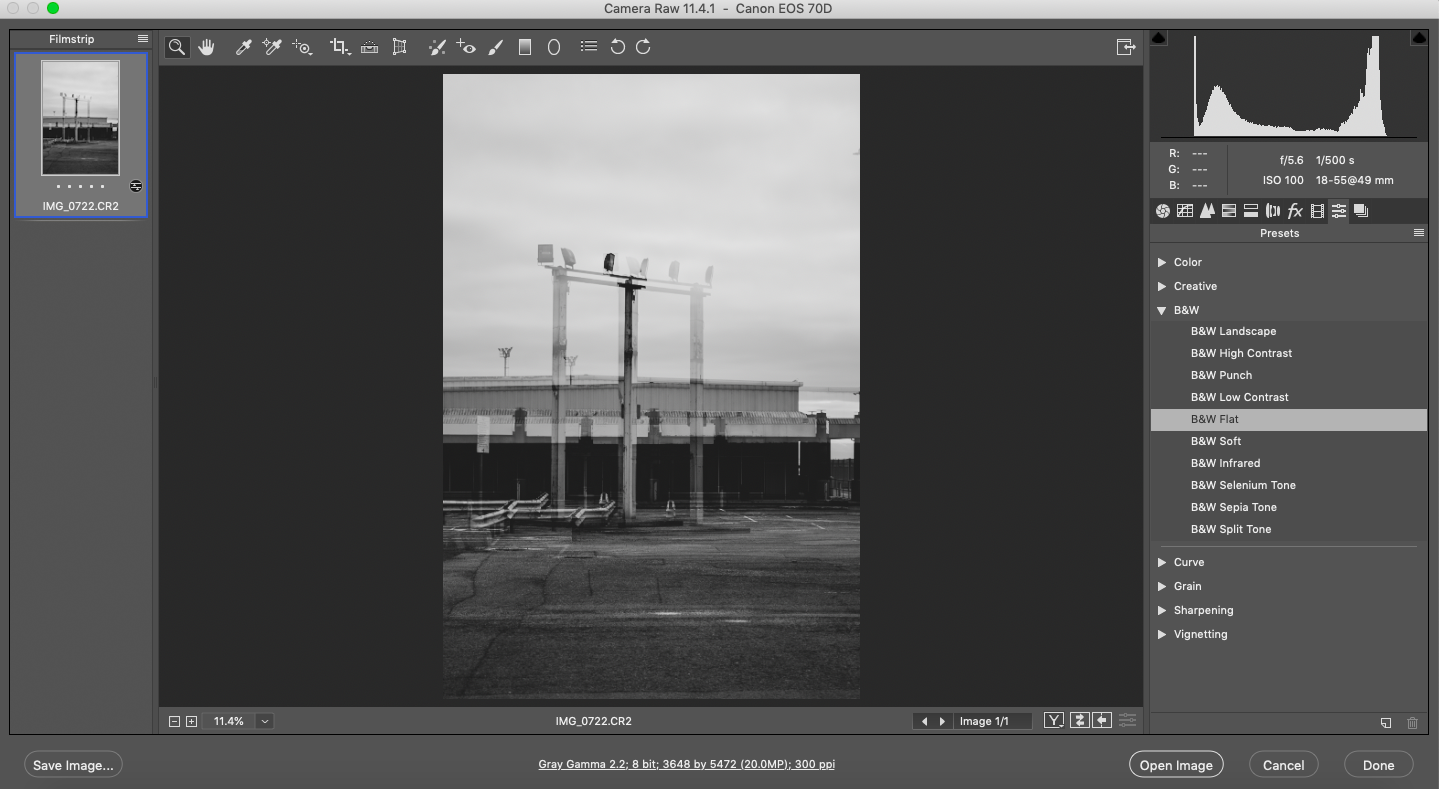
I want to print them in A3 Lustre paper, but I’m also going to print A4 because when doing to double exposure it looks like the quality decreases. Though my camera is 20.2 MP, it is just as a back-up.

The title of this series is going to be called ‘What I See’, as this is one of the most common phrases I use. It represents these images because this is literally what I see, through my own identity.

SHOOT 3

IDENTITY, TEST SHOOTS

I decide to follow the route of photographing my family at home, even though the location of Ramsgate produce visually exciting photographs, I feel the area of my home would make more sense to the theme of identity.

CONTACT SHEET

RESULTS

My mum doesn’t like to be photographed, but I wanted her to look natural. So for one set of images, I sat her in the living room sofa, while holding Peppa, our guinea pig. My mum is a carer of animals, and like me is very creative. We have a household of 2 dogs, 2 rabbits, 8 chickens and a guinea pig. So, I wanted to look natural and comfortable.

Then I did a close-up portrait of her outside, I wanted to shoot with a neutral background, in a place she likes, which is the garden. It produces very cool effects while making it look natural and not stage at the same time. I used the same editing process as before, by changing them to black & white, with a raw adobe preset.

PLANNING FOR SHOOT 3

IDENTITY, TEST SHOOTS

PLAN

From the experimental practice shoot and talking to Rikard Osterlund, I have a clear vision of what I want my output to be. I want to produce a selection of images that consist of places around me and my family members in double exposure. The portraits are going to be close-ups, because when we talk to a person, that how we see that person, to make it as close as possible to what I see. The images below are what I’m going for.

LOCATION

For this shoot, I’m going to be shooting my Mum, so any place around the home, which relates to her. But also looking for a possible plain background to help with the double exposure.

  • Living room – the family space
  • Garden – like her gardening
  • Kitchen – loves to bake and cook
  • Conservatory – place were she does her crafts

EQUIPMENT

  • Canon Body
  • Family members – Models
  • 50mm Prime lens – Mostly for the portraits
  • Standard Camera lens – for the location images
  • Tripod – Possibly used to get a cleaner double exposure comparison

SHOOT 2

IDENTITY, TEST SHOOTS

PLAN

Before getting my family together, I wanted to practise with my younger sister. This was to get an idea of what to expect and how to get what I want to produce.

LOCATION

I wanted the location, to have a connection to me and also my sister, so I decided to shoot in her bedroom. This is one of her favourite places because of its comfort and secureness. But there is a plain wall in the background which will allow the double exposure to work better. She has be diagnosed with ME (CFS) Chronic Fatigue Syndrome, in were she has had laryngitis for just over four months now. She sometimes can barely get up the stairs without getting totally exhausted. I also have this condition 3 years ago, and was off school for 6 months, so I know the need to feel comfort.

EQUIPMENT

I’m going to be using a 50mm lens, as I like using this best for portraits, a tripod, and a standard lens for non-close ups.

CONTACT SHEET

RESULTS

RIKARD OSTERLUND

IDENTITY, RESEARCH, TEST SHOOTS

Rikard Osterlund came to our University and gave us a talk about his works, techniques he has used, and experiences. I had the pleasure of having a 1 to 1 discussion with him about my ideas for the identity unit. His work below is from Osterlund series ‘Look, I’m wearing all the colours’.

“This book is an intimate story of my journey as a husband trying to understand my wife’s illness. It was made using photographs taken over a 13 year period. Shown here is a small sample from the book. I started photographing Zara when we first met. Images of nights out, eating and kissing were soon joined by images of flare ups and hospital visits. She has fibromyalgia and hypermobility – conditions causing constant pain and which lead to life often feeling like it lacks cohesion and order. They join us as silent partners in our relationship with each other, and our wider world.” (Rikard Österlund, n.d.) Obviously, I can’t understand what his wife goes through, but I can understand the part of people not understanding and the endless hospital appointments, as I have other medical problems.

TALKING WITH RIKARD OSTERLUND

In the afternoon of that day, I had a 1 to 1 talk with Osterlund about my identity work. Overall I found this very useful and gave me some pointer in ways I could possibly produce and display my work.

At first, I told him my idea, which consisted of explaining my eye condition. He was really intrigued by the idea and wanted to see if I had any work to show. The only work I had to show was the practise shoot 1 location images. I told him this was experimenting and practising the technique of double exposure, and I want to photograph my family as well. Below are some of the ideas that he mentions, that has help me guide the path I want to go down.

  • He like the location images, so the final 4-6 images won’t all consist of portraits, a bit of both
  • While shooting the portraits, do close-ups shots, as most of the time thats how we see our families faces
  • If on the day of the shoot you see something else, photograph it

SHOOT 1 – PRACTISING DOUBLE EXPOSURE

IDENTITY, TEST SHOOTS

PLAN

As a result of wanting to take portrait images, but not having actually practised the technique, I decided to go outside and practise in my local area. I could still photograph people in my pictures, but the backs of them (strangers), and I got a lot of inspiration from Martin Dietrich. I want to go to a location and wait for the perfect moment to take the photos.

LOCATION

I thought interesting locations that are related to me and close by. For this experimental/practise shoot, I’m starting at Ramsgate Port and making my way down to the Harbour.

EQUIPMENT

I am going to be taking my 70D Canon camera with a standard lens, I wanted to take the 24mm lens, as it closest to what we see, to make the audience feel they are looking through my eyes. So for another shoot, I will hire that lens out from the kit room.

Another part is the setting up of the double exposure, I have research and look at what different settings there are, and I like additive the most. It gives a double exposure look of film but also matches the best to what I see. Some of the others were too strong and not enough opaqueness.

CONTACT SHEET

SCREENSHOTS OF EDITING

RESULTS

I didn’t know what to expect, but overall, I feel that I have produced some interesting images. At first, it was hard to create what I see with particular objects, but the location of choice was perfect, and also was the weather conditions. It was a cloudy dry day, and this white cloud background is the ideal conditions for double exposure. It almost acts like a white studio background.

I would say the only negative was that after doing each double exposure, I had to wait about 5-10 seconds for the camera to process (busy) it. Which was fine, but I couldn’t capture the people walking past fast enough, to create what I see.

Overall, I think the key to how I see things, is by finding shapes and moving the camera subtly, just enough to create a double effect. Another thing was having a lighter clearer background work well.